Post 1: Deploying Nutanix Enterprise AI on a Non-Nutanix Managed Kubernetes Cluster

We have been looking into a couple of different AI initiatives at GDM, and we have been evaluating various products on the market to get LLMs into production.
So, we decided to try out Nutanix Enterprise AI.
I thought I would share our experiences deploying it with you.
We deployed this on our Rancher k8s infrastructure. Since the scope of this blog post will not cover how to deploy Rancher on Nutanix infrastructure, you can read all about this in one of my previous blog post series:
Post 1: Storage components
CSI Storage differences
To get you started, we need to talk about the one difference from the blog post series mentioned above. In that example, we used Hypervisor Attached Volume storage since we're only using Nutanix VMs as the Kubernetes nodes, and that works just fine.
But, when we're talking about AI and LLMs, you often want to leverage nodes that contain GPU cards. In our case, we have a test server with a GPU that we're going to use.
Therefore, we need to use iSCSI attached storage volume groups for the bare-metal nodes to be able to connect to the storage.
We're using Rancher's continuous delivery module called Fleet to install the Nutanix CSI driver with the following code in our git repo:
defaultNamespace: ntnx-system
helm:
  releaseName: nutanix-csi-storage
  chart: https://github.com/nutanix/helm-releases/releases/download/nutanix-csi-storage-3.3.4/nutanix-csi-storage-3.3.4.tgz
  takeOwnership: true
  values:
    createSecret: false
    createPrismCentralSecret: false
    pcSecretName: ntnx-pc-secret
    csiCategoryConfigmapNamespace: ntnx-system
kubernetesClusterDeploymentType: bare-metalkubernetesClusterDeploymentType: bare-metal, and this is for the bare-metal GPU worker nodes to be able to consume Nutanix Volume Group-based storage.Another difference from the previous post is that we have a little more configuration in the storage class that we configure in Kubernetes.
allowVolumeExpansion: true
apiVersion: storage.k8s.io/v1
kind: StorageClass
metadata:
  annotations:
    storageclass.kubernetes.io/is-default-class: "true"
  name: default-nutanix-storageclass
parameters:
  csi.storage.k8s.io/fstype: xfs
  hypervisorAttached: DISABLED
  storageContainer: <Name of storage container>
  storageType: NutanixVolumes
  prismElementRef: <PRISM-ELEMENT-CLUSTER-UUID>
provisioner: csi.nutanix.com
reclaimPolicy: Delete
volumeBindingMode: WaitForFirstConsumer
We need to make sure that hypervisorAttached is set to DISABLED, and make sure that we specify which PE-Cluster we're using, and what container in that cluster we're using.
When you have deployed the CSI driver to your cluster, you need to add the secret ntnx-pc-secret:
apiVersion: v1
kind: Secret
metadata:
 name: ntnx-pc-secret
 namespace: ntnx-system
data:
 # base64 encoded prism-ip:prism-port:admin:password.
 # E.g.: echo -n "10.0.00.000:9440:admin:mypassword" | base64
 key: MTAuMC4wMC4wMDA6OTQ0MDphZG1pbjpteXBhc3N3b3Jk
Save this to a YAML file called ntnx-pc-secret.yml. Apply this file with this command:
rancher kubectl apply -f ntnx-pc-secret.ymlNFS Storage
One big component and prerequisite for Nutanix Enterprise AI is that the different LLMs you can download and publish need NFS/File-compatible storage that your Kubernetes cluster can consume.
So first, let's deploy a Nutanix Files instance that we can use with our Nutanix Enterprise AI :)
Step 1:
Log in to your Prism Central Instance -> Go to the app switcher and select "Files"
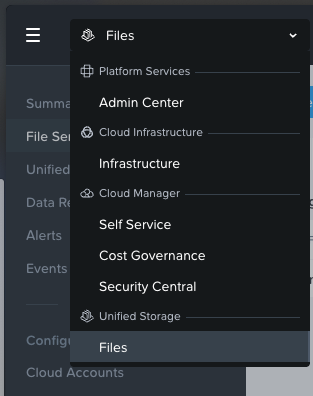
Step 2:
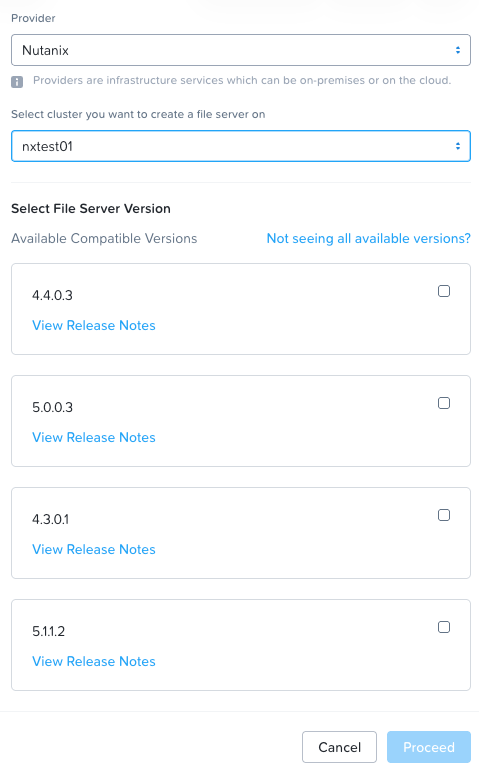
In the top left-hand corner you have + New File Server, select Nutanix and your cluster as provider:
Choose the latest available version, Click Proceed.
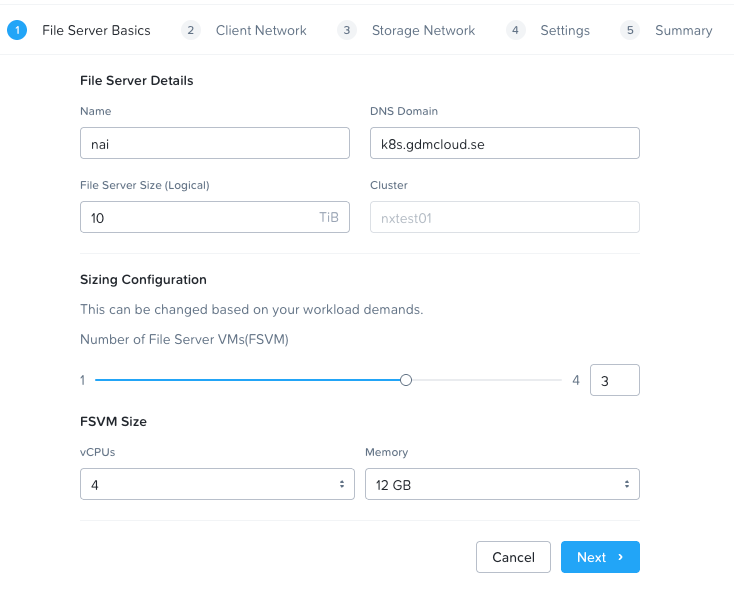
Step 3:
Configure the resources for your new file server.
Step 4:
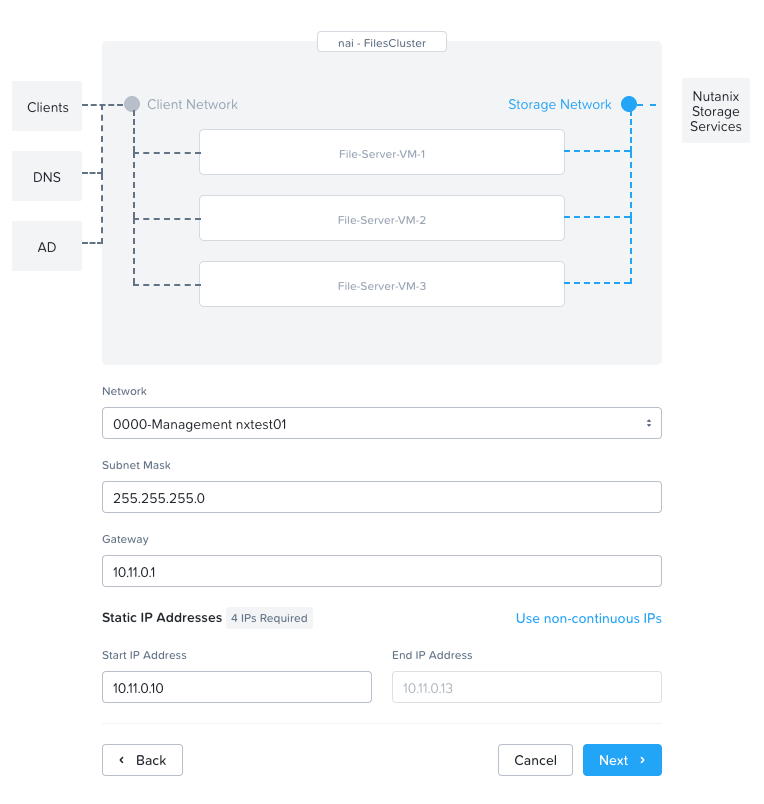
Configure your network. The first network is the network facing the k8s cluster.
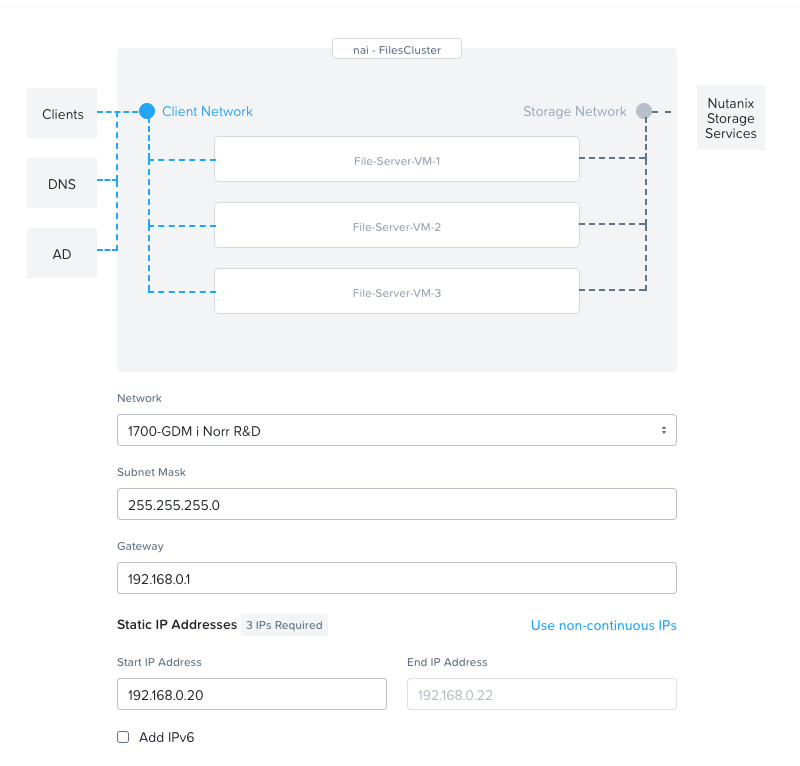
The second network is the network that will face the Nutanix Infrastructure. In our case we're using the test-cluster's mgmt network.
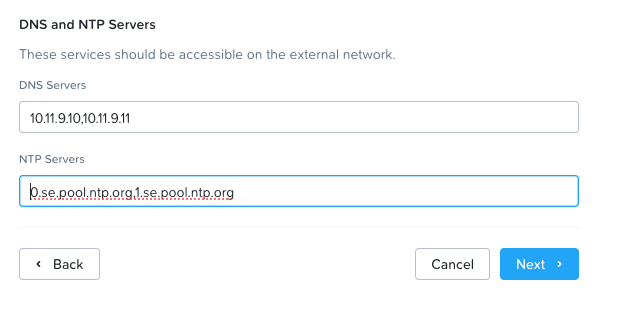
Step 5:
Configure your DNS and NTP servers for the Files cluster.
Step 6:
On the summary page, double-check all your settings and click create. You can follow the progress in the task section in Prism Central.
Once the File cluster is deployed, we need to configure it with some users etc. and create a new storage class in our newly deployed Rancher k8s cluster.
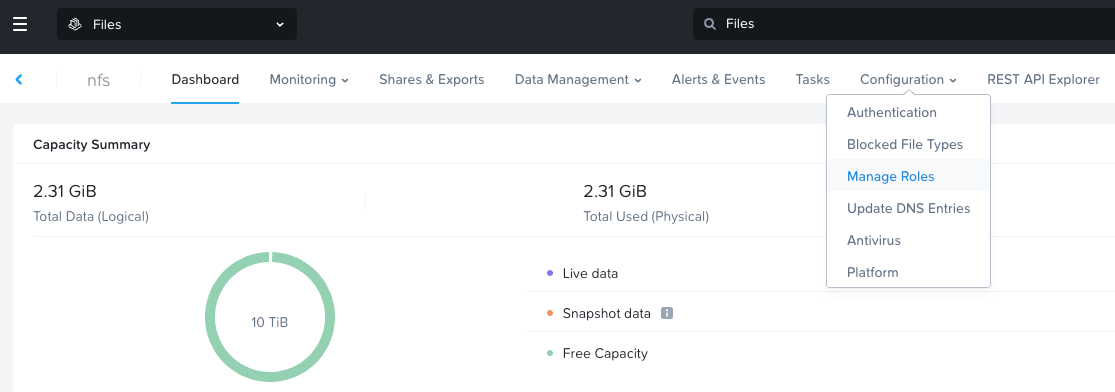
Create API users and NFS storage class
In the file server, go to Configuration -> Manage roles
Click "new user" and create a user (I'll call it NAI in this case), select a strong password.

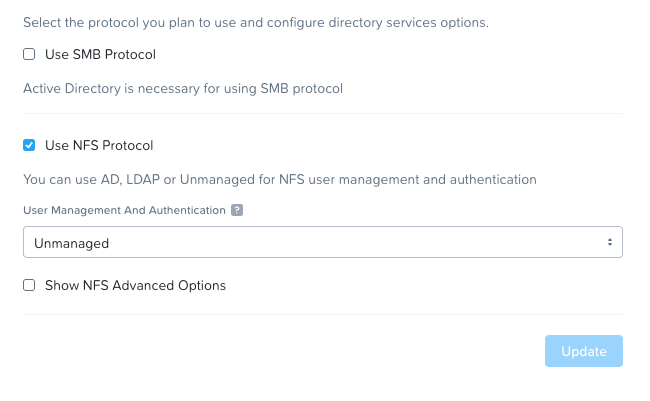
Then go to Configuration -> Authentication
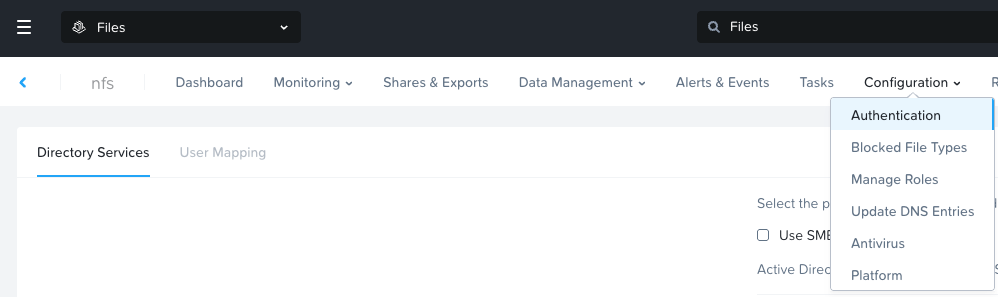
Enable NFS
Then go to DNS Entries

Make sure that you have all the necessary DNS entries.

Now it's time to create the NFS storage class in the Kubernetes environment.
First, we need to create the secret containing the Nutanix File-server API user and Prism Central user that we will use to connect to the server. Create a file called nutanix-csi-secret.yaml:
apiVersion: v1
kind: Secret
metadata:
  name: nutanix-csi-credentials-files
  namespace: ntnx-system
type: Opaque
stringData:
  key: prismcentral.domain.local:9440:admin:<passwd)
  files-key: nfs.k8s.gdmcloud.se:nai:<passwd>
For the sake of this blog post and lab, we'll use the Prism Central Admin account, but for a production environment I recommend that you use the minimum privileges needed for your needs.
The other one is the file server API user we created above.
Apply the file by running:
rancher kubectl apply -f nutanix-csi-secret.yamlOnce you have the secret in place, create the storage class by creating a file called nfs-storage-class.yaml:
kind: StorageClass
apiVersion: storage.k8s.io/v1
metadata:
    name: nai-nfs-storage
provisioner: csi.nutanix.com
parameters:
  dynamicProv: ENABLED
  nfsServerName: nfs
  nfsServer: nfs.k8s.gdmcloud.se
  csi.storage.k8s.io/provisioner-secret-name: nutanix-csi-credentials-files
  csi.storage.k8s.io/provisioner-secret-namespace: ntnx-system
  csi.storage.k8s.io/node-publish-secret-name: nutanix-csi-credentials-files
  csi.storage.k8s.io/node-publish-secret-namespace: ntnx-system
  csi.storage.k8s.io/controller-expand-secret-name: nutanix-csi-credentials-files
  csi.storage.k8s.io/controller-expand-secret-namespace: ntnx-system
  storageType: NutanixFile
Apply by running:
rancher kubectl apply -f nfs-storage-class.yamlYou have now created the storage class and the secret needed to deploy PVCs with file-based storage from Nutanix.
This is all for now.
Read more in part 2 of the series.