DevOps Post 2: Deploying your first RKE2 downstream cluster using the Nutanix Node Driver

Okay, now that you have your Rancher installation done, we're going to enable the Nutanix GUI extension and the Rancher node driver, connect to the Prism Central instance, and start deploying RKE2 Downstream Clusters.
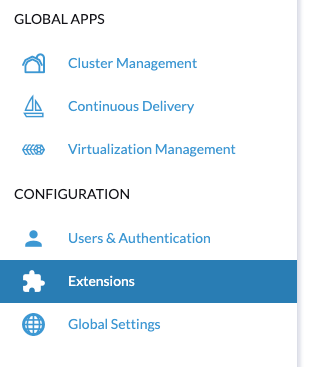
First, in the menu on the left-hand side, click Extensions:
Then find the Nutanix UI extension and click Install.
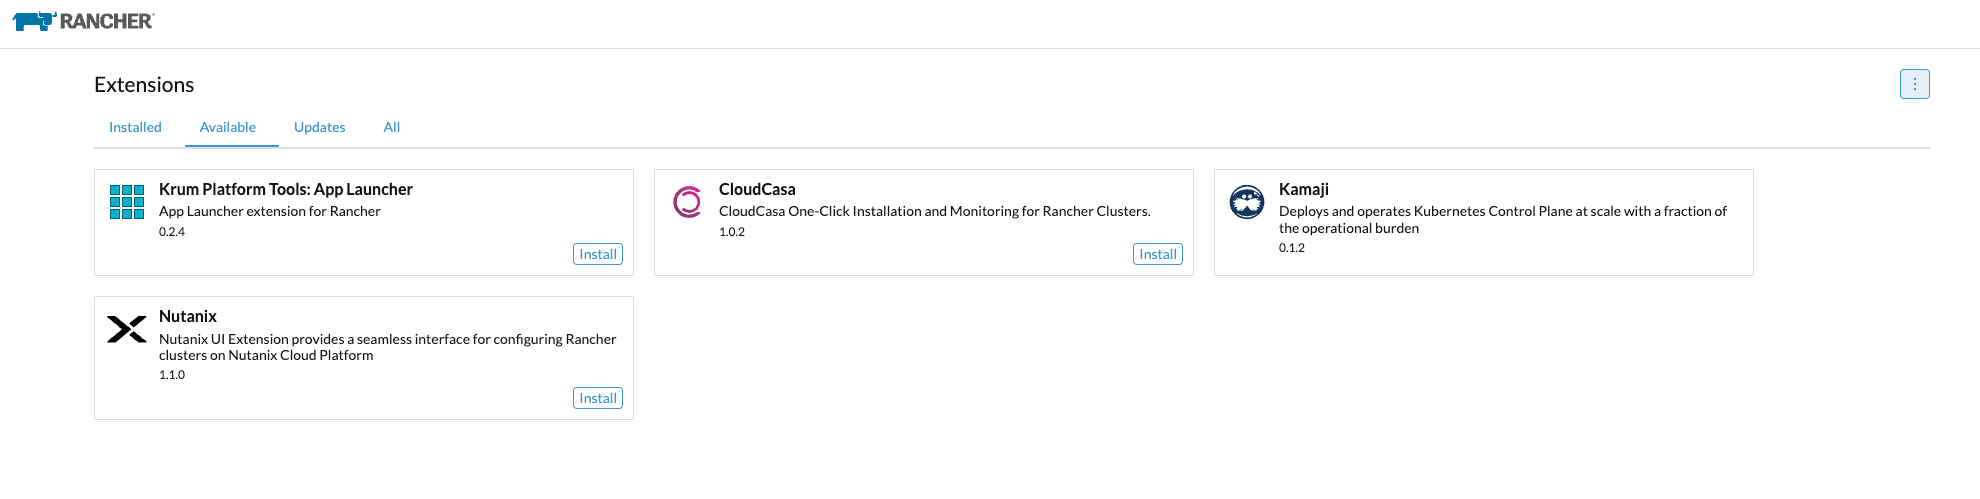
The prerequisites for the Nutanix UI extension at the time of this blog are as follows:
Prerequisites:
- Nutanix Prism Central 2024.3+
- Nutanix Rancher Node Driver v3.6.0+
- Rancher 2.10.0+
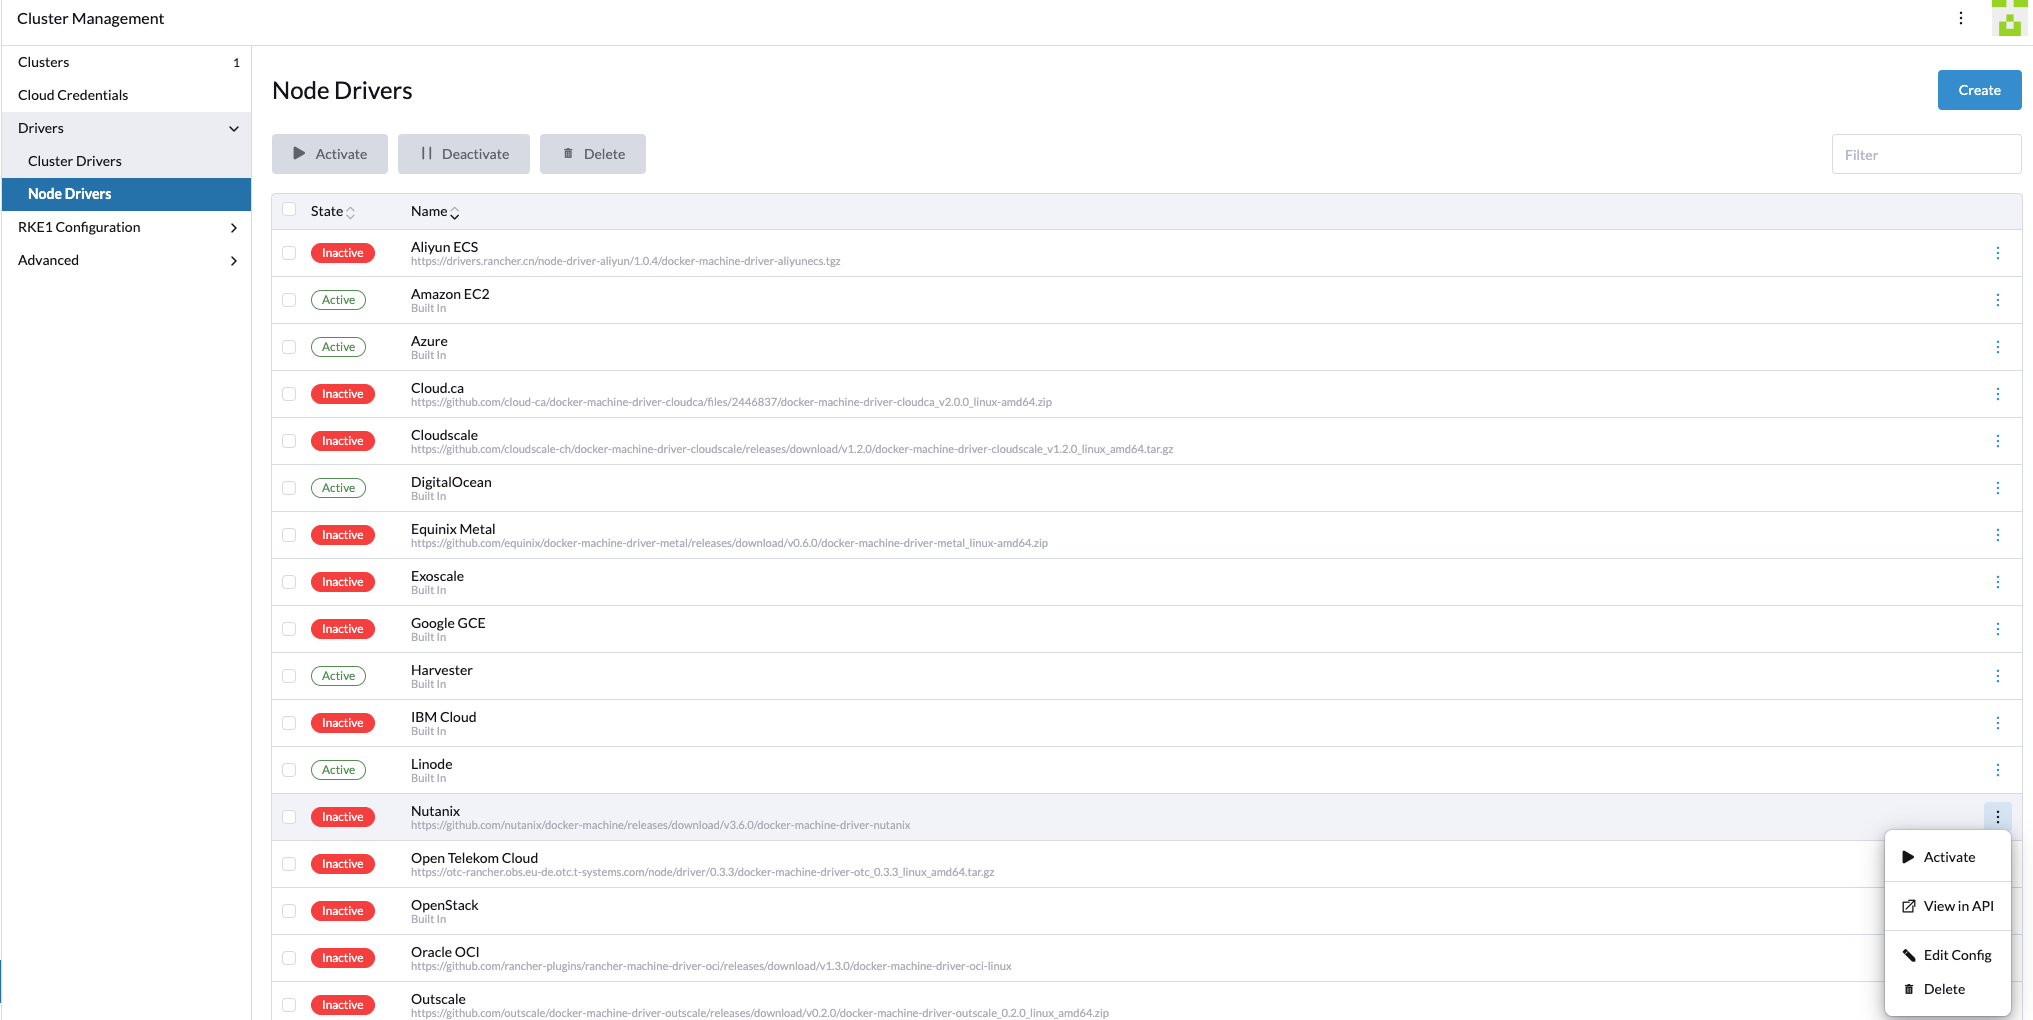
Once the UI extension is installed, go to Cluster Management in the menu -> Drivers -> Node Drivers and enable the Nutanix Node driver. Activate it.
Credentials
Once that is active, we need to create a cloud credential that will be used to create the nodes. But before that, we should talk a bit about what kind of RBAC access you need and where to scope this user.
In our case, we created a custom role called "GDM Rancher" in our test Prism Central instance. This role has rights to create servers, read images, etc.
Then we created projects in Prism Central where we want different Cluster Nodes to reside. What we did was add the service account that Rancher would use to the project with the custom role that we created earlier.
Unfortunately, I would not have the time to cover the creation of the custom role, but there's a lot of documentation available on the Nutanix portal. For the purpose of this demo/test, you can always use the built-in Admin account, but for production environments, I recommend you take the RBAC route.
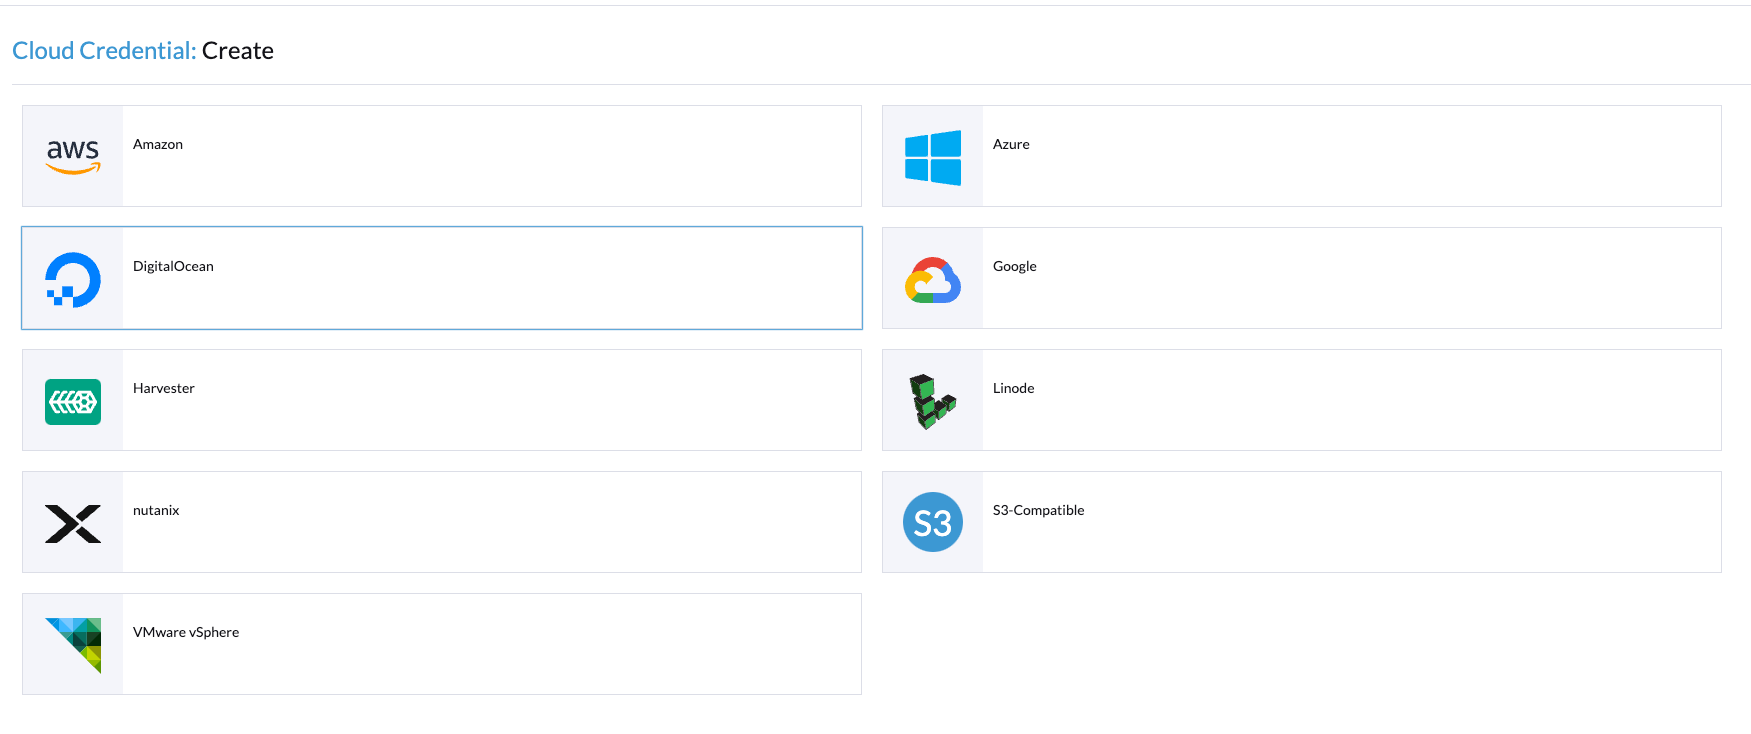
Once you have figured out the credentials and the roles in Prism Central, click on Cloud Credentials and then click Create.
Choose Nutanix:
Fill out the form with your credentials and hit Test Authentication.
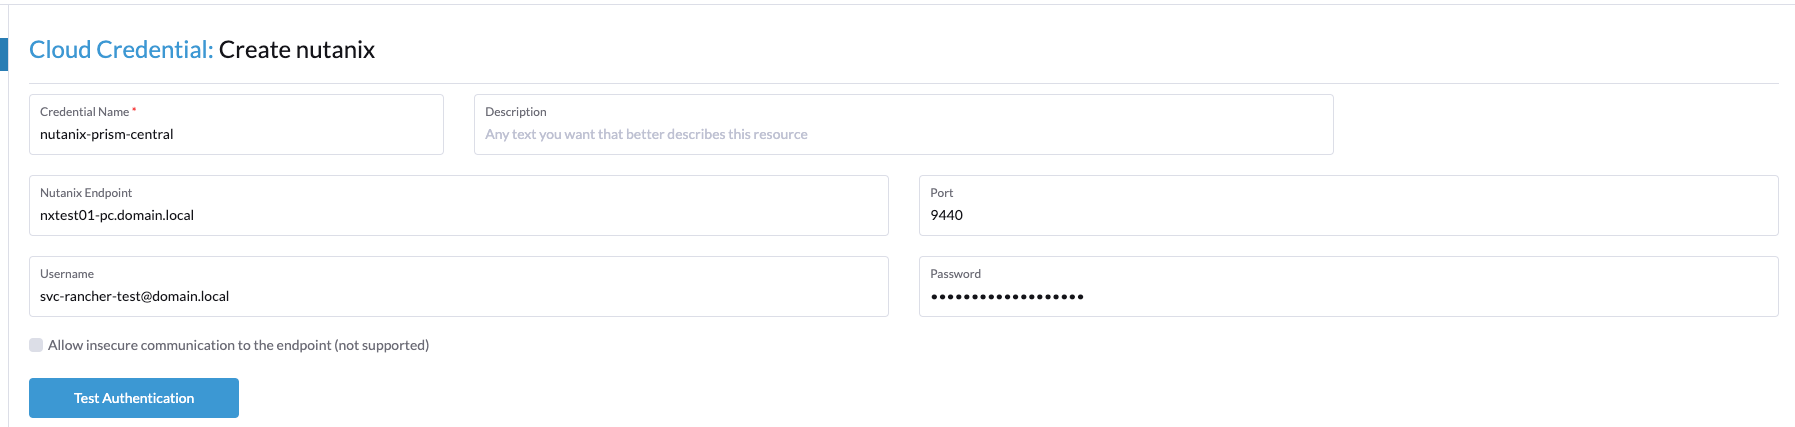
You should now see a welcome message. Click Create in the bottom-right corner and then go to Cluster Management -> Clusters to test that the credentials really work.
Now click Create -> Choose Nutanix:
You should now see the UI like this:
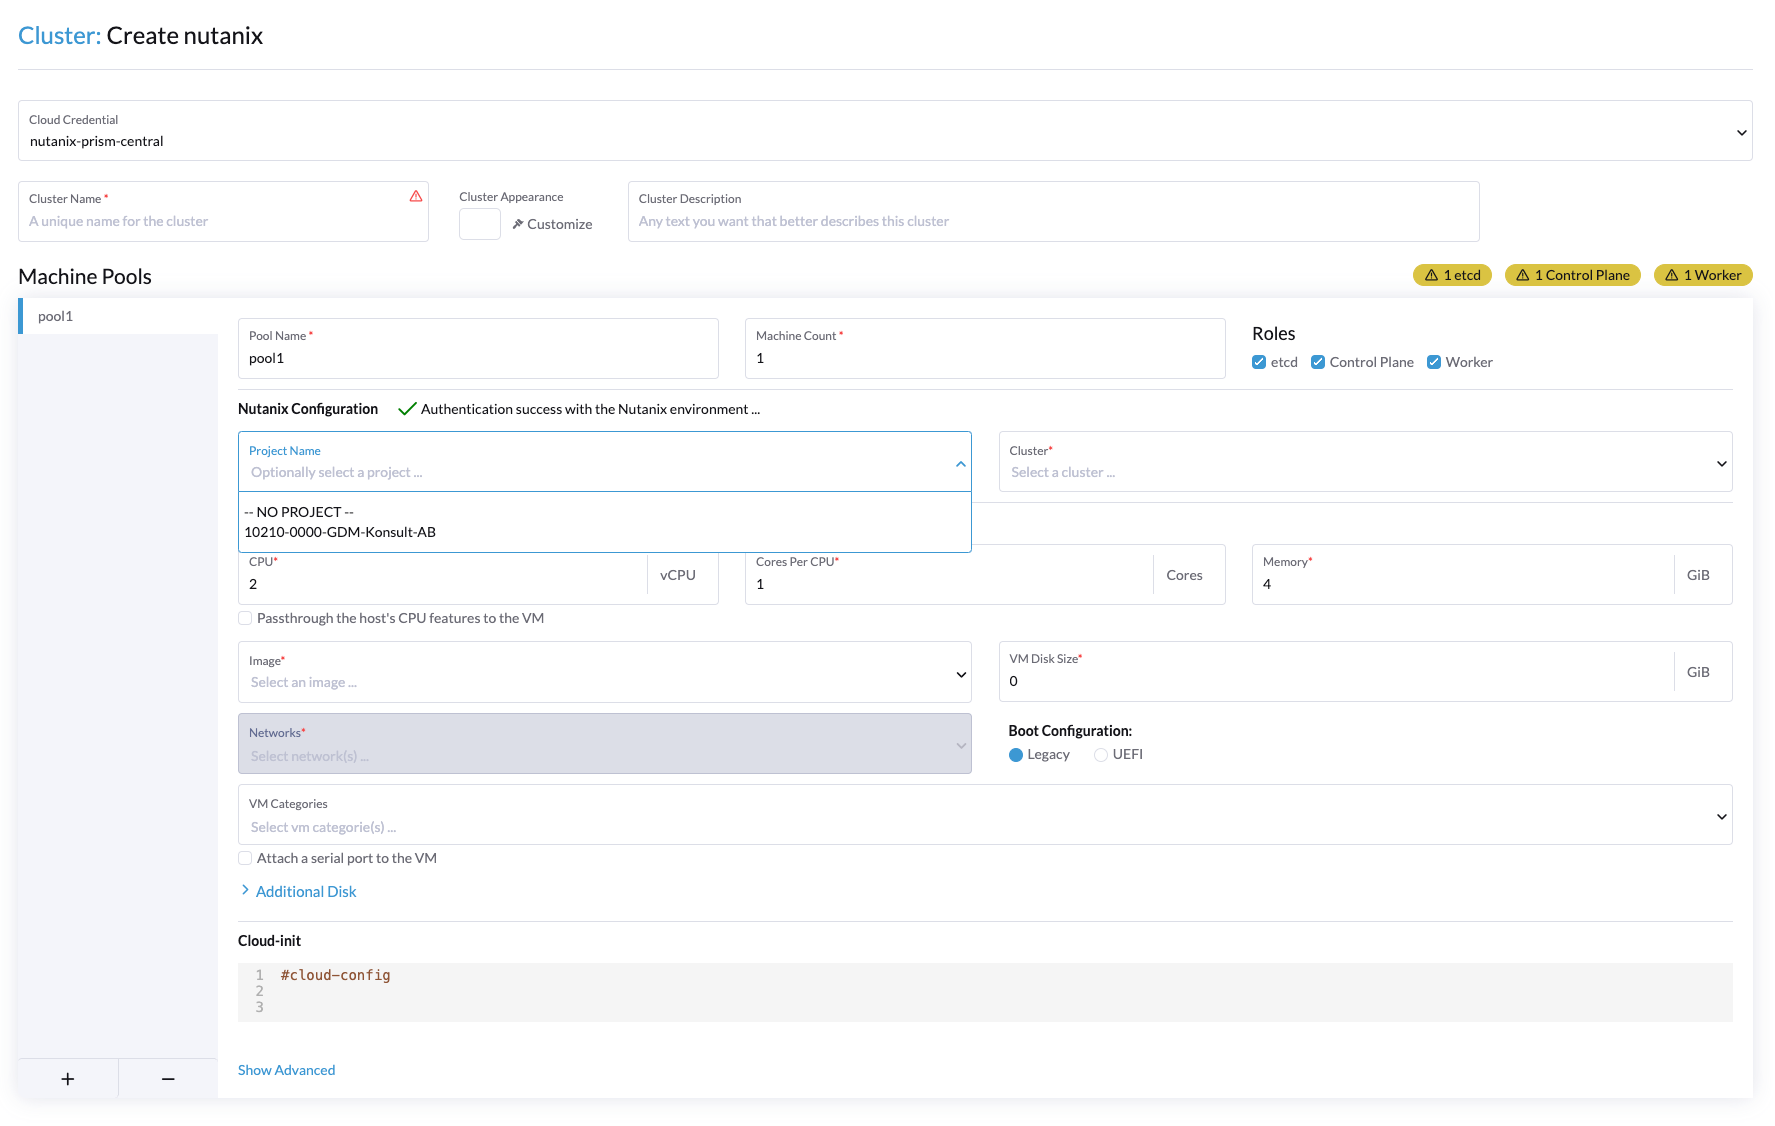
When you click the different dropdown menus, you should get the information that your user has RBAC access to.
Certificates (again)
But before we create a new cluster and start deploying the different nodes, I would like to talk a bit about certificates again. When I was writing this article, I ran into a bug. That bug was that the PODs created in the Rancher Local K3s cluster, which have the mission to deploy the workloads in the Nutanix environment, faced some certificate issues.
See the output below:
kubectl exec -it -n fleet-default test -- /bin/bash
root@test:/#
root@test:/# curl https://nxtest01-pc.domain.local:9440
curl: (60) SSL certificate problem: self-signed certificate in certificate chain
More details here: https://curl.se/docs/sslcerts.html
curl failed to verify the legitimacy of the server and therefore could not
establish a secure connection to it. To learn more about this situation and
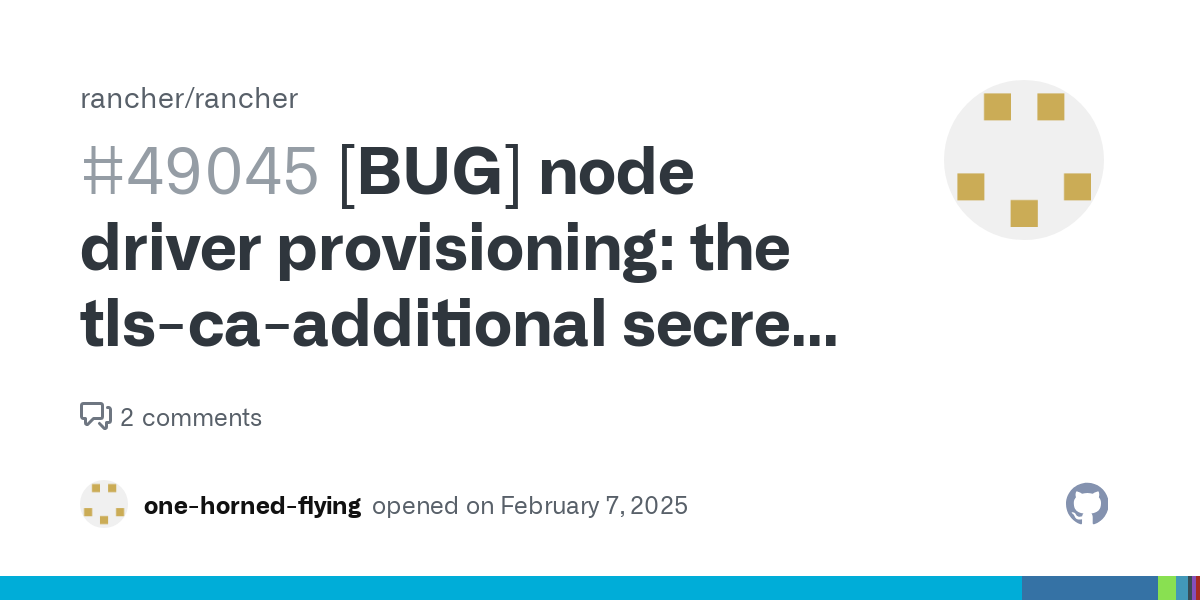
how to fix it, please visit the web page mentioned above.This is apparently a Rancher bug tracked under this issue on GitHub:
So basically what we have to do is this, from the rancher-server run the below commands:
First, we need to extract the current Rancher internal CA to .crt and .key files:
kubectl -n cattle-system get secret tls-rancher-internal-ca -o jsonpath='{.data.tls\.crt}' | base64 -d > existing-tls.crt

kubectl -n cattle-system get secret tls-rancher-internal-ca -o jsonpath='{.data.tls\.key}' | base64 -d > existing-tls.key
Once you have done that, modify the files and add your internal Active Directory root CA and the Issuing CA of your *.k8s.domain.com certs to the bottom of the existing-tls.crt file.
Before edit:
-----BEGIN CERTIFICATE-----
MIIBvjCCAWOgAwIBAgIBADAKBggqhkjOPQQDAjBGMRwwGgYDVQQKExNkeW5hbWlj
bGlzdG...................
-----END CERTIFICATE-----
After edit:
-----BEGIN CERTIFICATE-----
MIIBvjCCAWOgAwIBAgIBADAKBggqhkjOPQQDAjBGMRwwGgYDVQQKExNkeW5hbWlj
bGlzdG...................
-----END CERTIFICATE-----
-----BEGIN CERTIFICATE-----
...............aWN0bfVKfjllDiIGknibVb63dDcY3fe0Dkhvld1927jyNxF1WW6LZZm6zNTfl
MrY=
-----END CERTIFICATE-----
-----BEGIN CERTIFICATE-----
.........................FS2wKx5L8kdGXbb4XBOv0jfsFmD7gZGEL17pn5Qi126vDhB/5bp2cB3dulnZxR
gA==
-----END CERTIFICATE-----
Where the first certificate is the original internal Rancher CA cert, and the following are the needed CA certs. Once you have added all your CA certs to your file, go ahead and recreate the tls-rancher-internal-ca secret by running the commands below:
kubectl -n cattle-system delete secret tls-rancher-internal-cakubectl -n cattle-system create secret tls tls-rancher-internal-ca --cert=existing-tls.crt --key=existing-tls.keyAfter you have fixed the tls-rancher-internal-ca, go to the Settings page in the Rancher GUI. Find the setting agent-tls-mode (set to Strict by default) and set this to "system store".

This needs to be done for the Fleet agent to connect back to the Rancher server when using selfsigned certificates. Otherwise, you will see the following in the provisioning log:
[root@rancher-demo ~]# kubectl -n fleet-default logs test-test-bwvsp-hfkqh-machine-provision-nbd2r -f
[INFO]  CA strict verification is set to true
[INFO]  Using default agent configuration directory /etc/rancher/agent
[INFO]  Using default agent var directory /var/lib/rancher/agent
[FATAL]  Aborting system-agent installation due to requested strict CA verification with no CA checksum provided
Cloud Images used to provision:
To deploy the downstream RKE2 Cluster on the Nutanix environment, upload a cloud image of Rocky Linux for cluster deployment.
To do this, go to Prism Central -> Click Infrastructure -> Click Images -> Click Add Image.
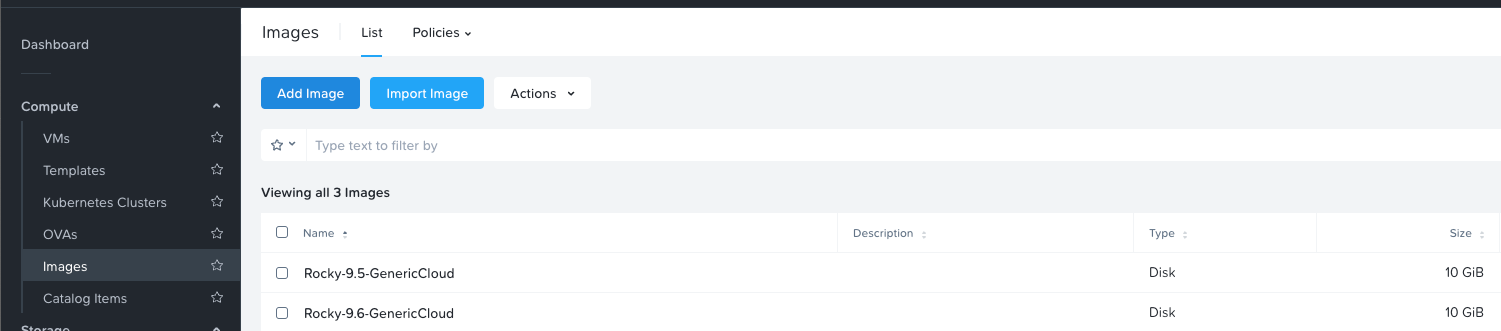
As stated earlier, we standardized this on Rocky Linux, and we're using the generic cloud image. At the time of writing this blog, the latest cloud image available is Rocky Linux 9.6, downloadable from here:
Deploy the cluster
Now all the preparations are done, and we can finally go ahead and create our first downstream RKE cluster.
Go back to the Rancher GUI, go to Cluster Management, click Create, and choose the Nutanix node driver. Fill out the form and hit Create.
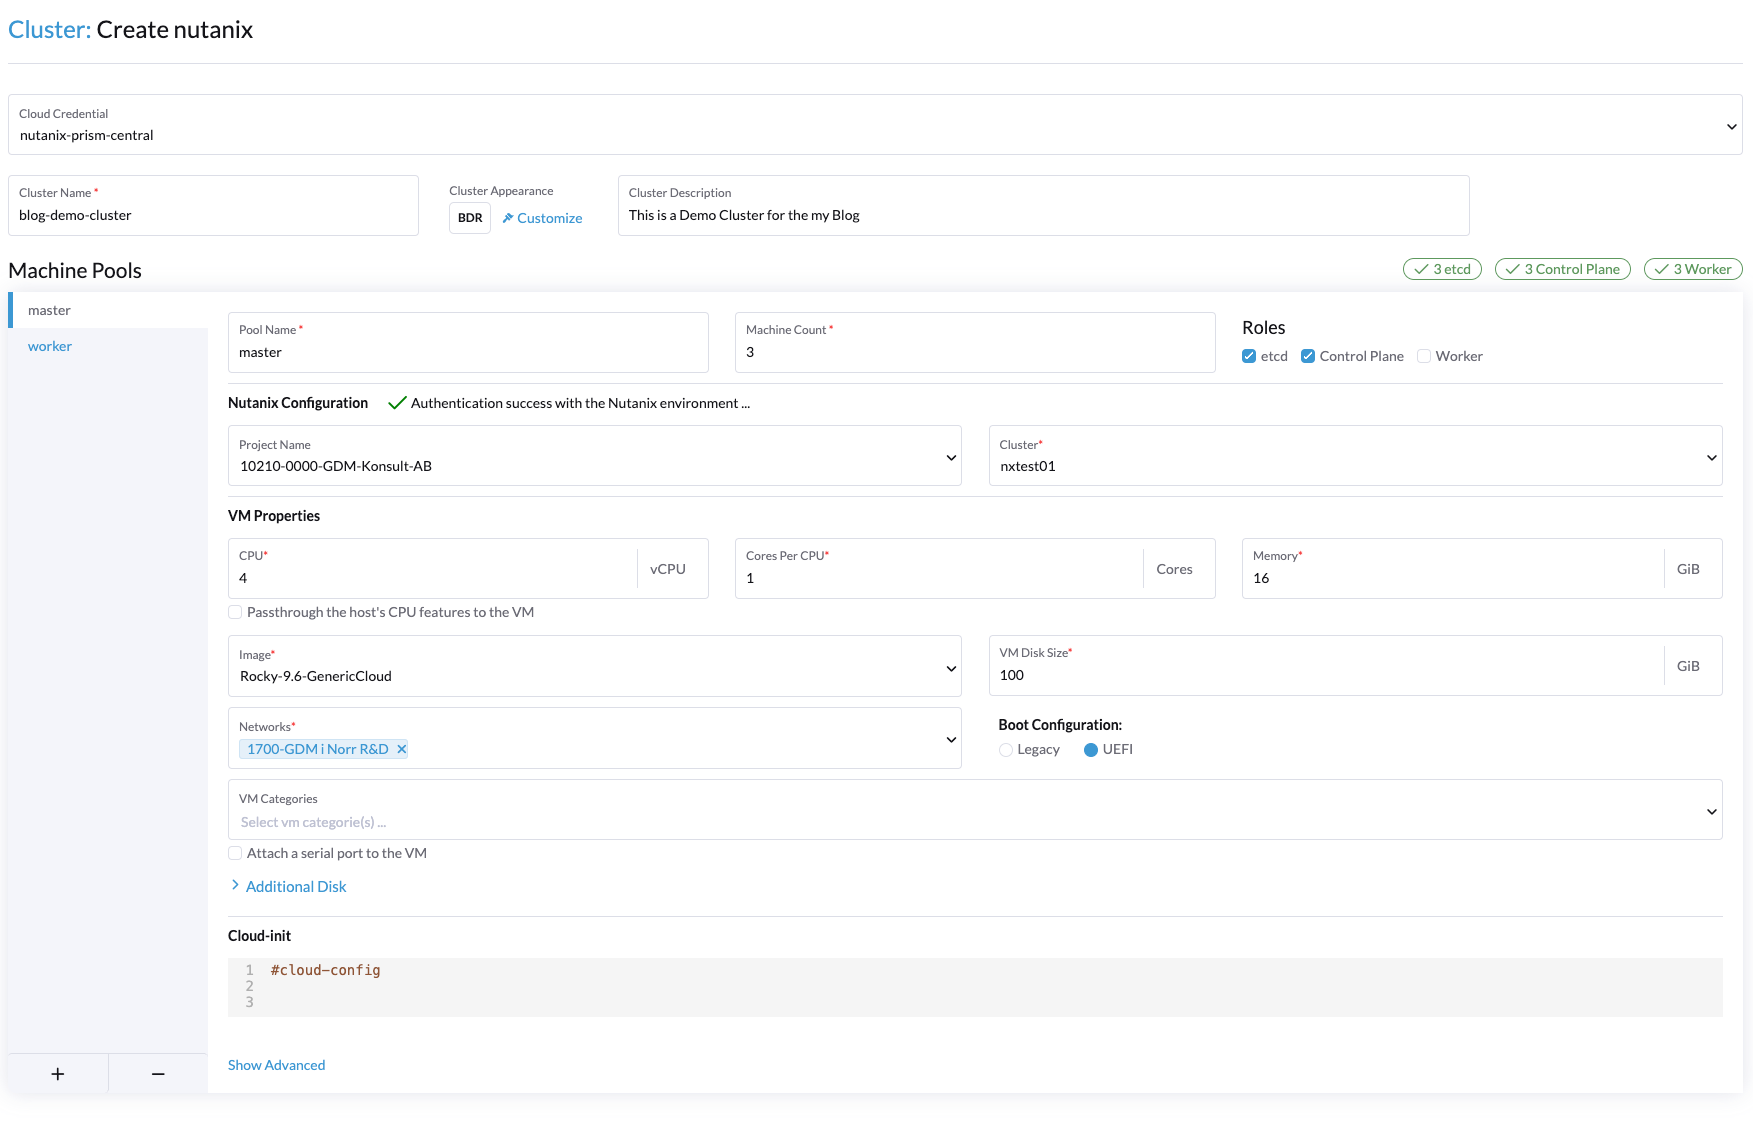
This is what I filled out in the node pools:
Master pool:
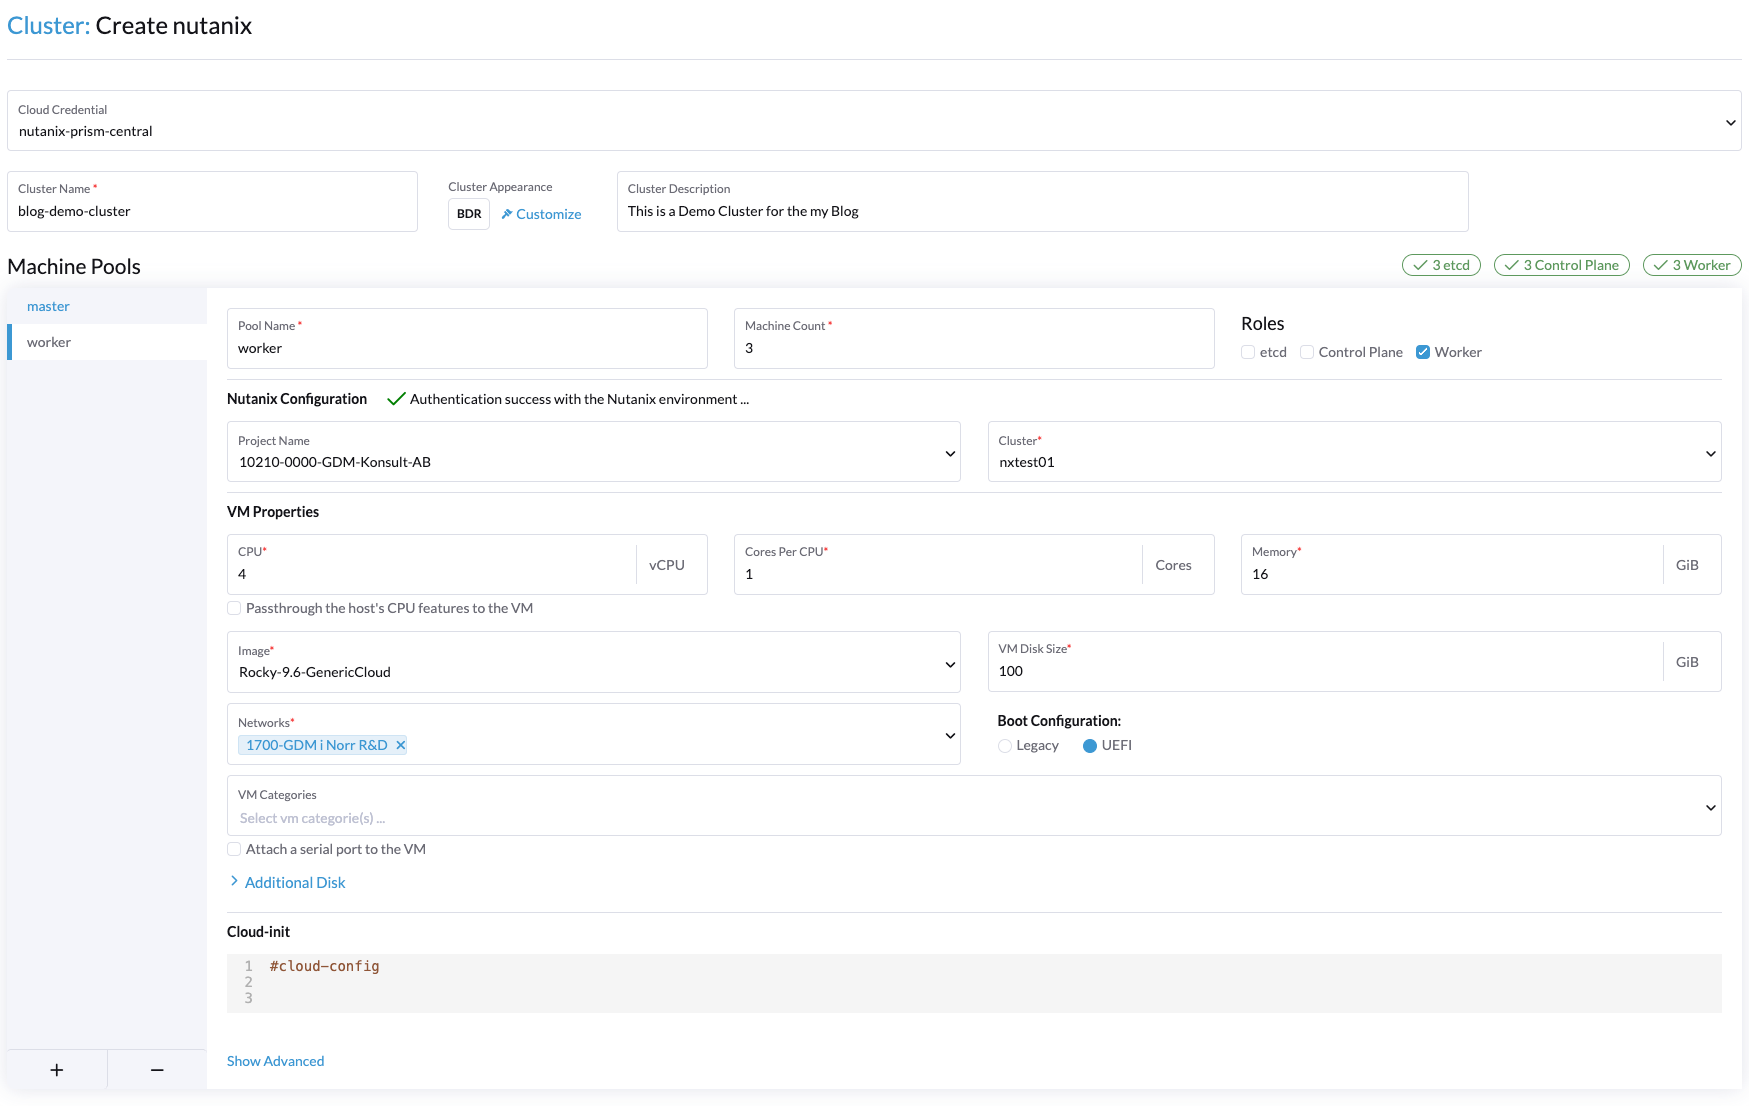
Worker Pool:
We also add a lot of different information into the cloud-init part of each node pool. This is our standard cloud-init configuration:
#cloud-config
packages:
  - iscsi-initiator-utils
  - iptables
  - iptables-services
  - ipset
  - e2fsprogs
users:
  - name: local-admin
    sudo: ALL=(ALL) NOPASSWD:ALL
    groups: users, wheel
    shell: /bin/bash
    ssh_authorized_keys:
      - ssh-ed25519 <YOUR Public RSA KEY>
runcmd:
  - systemctl enable --now iscsid
  - nmcli con mod 'System eth0' ethtool.feature-rx-gro-hw off
  - nmcli con up 'System eth0'
I'll try to explain the different parts of the cloud-init configuration:
- First, we need to deploy some extra packages for the Nutanix CSI driver to work (more on that later in the blog post series).
- Then we add a "local admin" user, which we can SSH into using a public key. This is useful in case we lose access from the Rancher management cluster to the downstream nodes and need to directly SSH into the nodes to keep managing the cluster, etc.
- Then we have some
runcmdsto enable the installed packages needed by the Nutanix CSI driver and also to fix the VirtIO bug present in the current Linux kernel that makes the interfaces slow.
With that, the node configuration is complete.
Then, we can fill out the cluster configuration to your preferences. A few tips:
- Go to Update Strategy, and click Drain Nodes.
- This ensures that when updating the cluster or Kubernetes version, the node being updated will be drained gracefully.
- Go to Networking, and fill out your Cluster CIDR and Service CIDR. We're using the carrier-grade 100.65.0.0/16 and 100.64.0.0/21 CIDR address spaces. But adjust this to suit your needs.
- You can deploy other container network providers than the official ones visible in the dropdown menu. We chose "none" here and deployed Antrea with an additional manifest:
https://raw.githubusercontent.com/antrea-io/antrea/main/build/yamls/antrea.yml
When you have filled out all the necessary settings, go ahead and click Create in the bottom-right corner of the GUI.
The cluster should now begin the creation process.
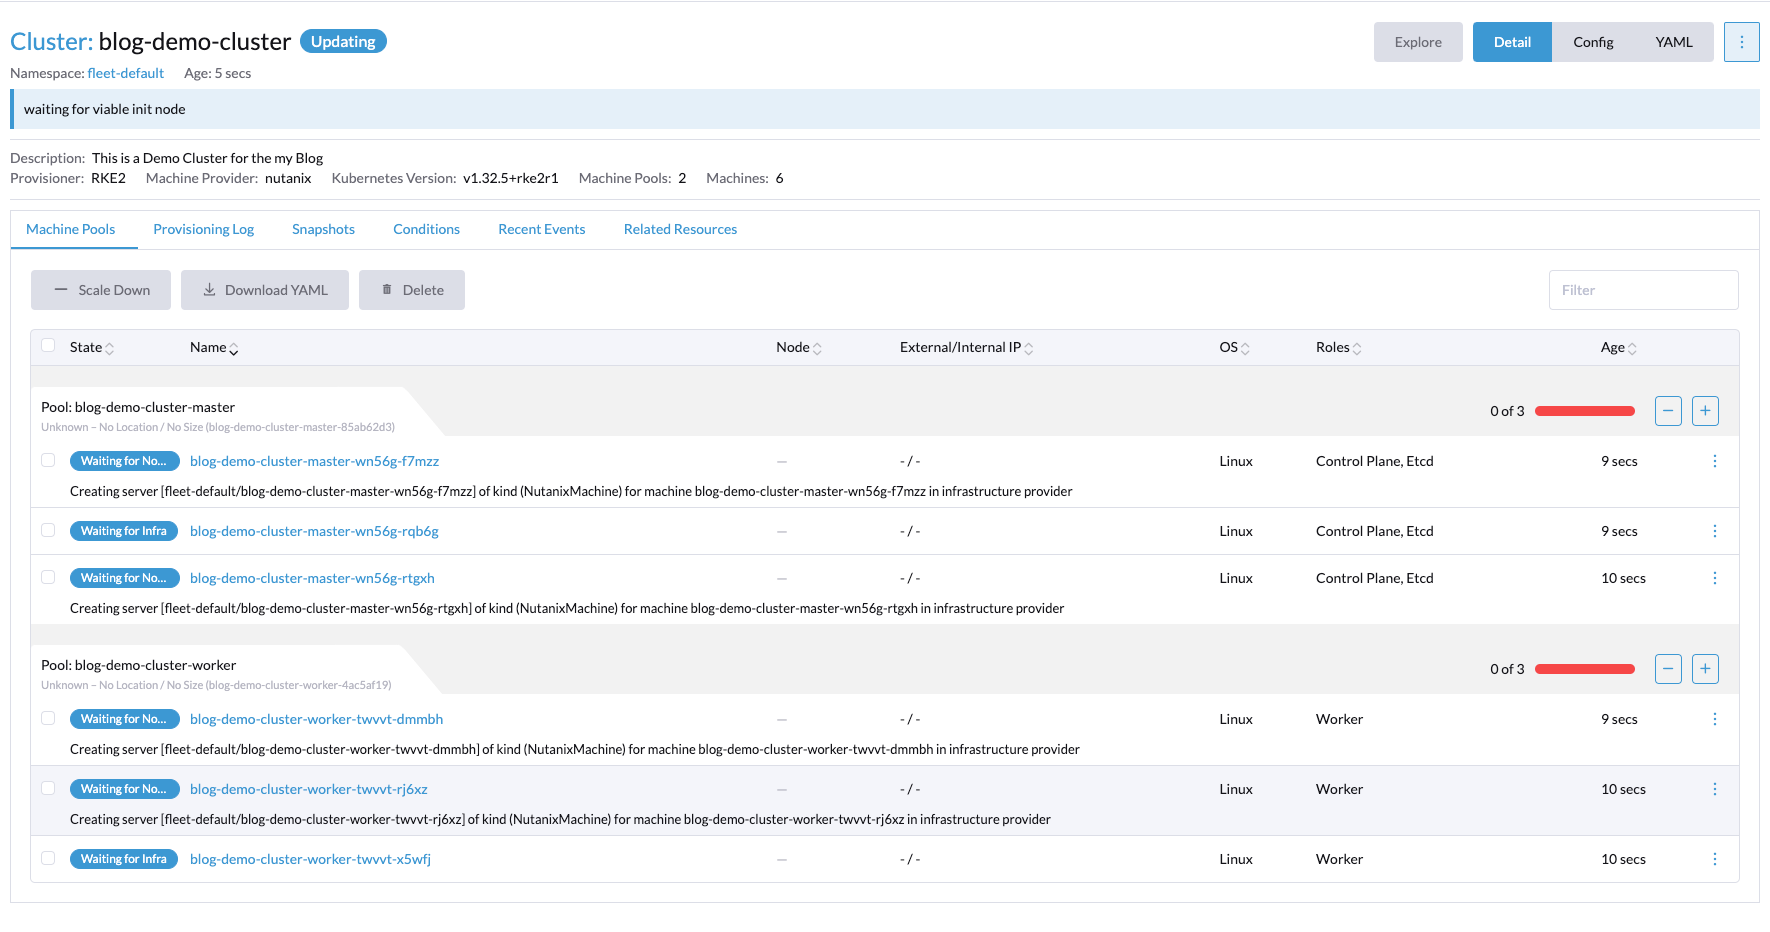
If we head into Prism Central, we can see that the machines are being provisioned.

Now just wait for everything to finish. After a while, the different machines will start activating one by one as the cluster agent connects back to the Rancher server. Eventually, you should see the status of the nodes change to "active."

Connect to the rancher server using rancher CLI
Now that the cluster is deployed and everything is working nicely, let's connect to the cluster using Rancher APIs and Rancher CLI.
In the Rancher GUI, go to the top-right side and click the icon for your user:
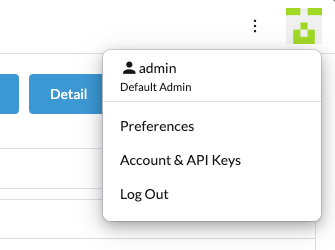
Click Account & API Keys.
Click Create API Key.
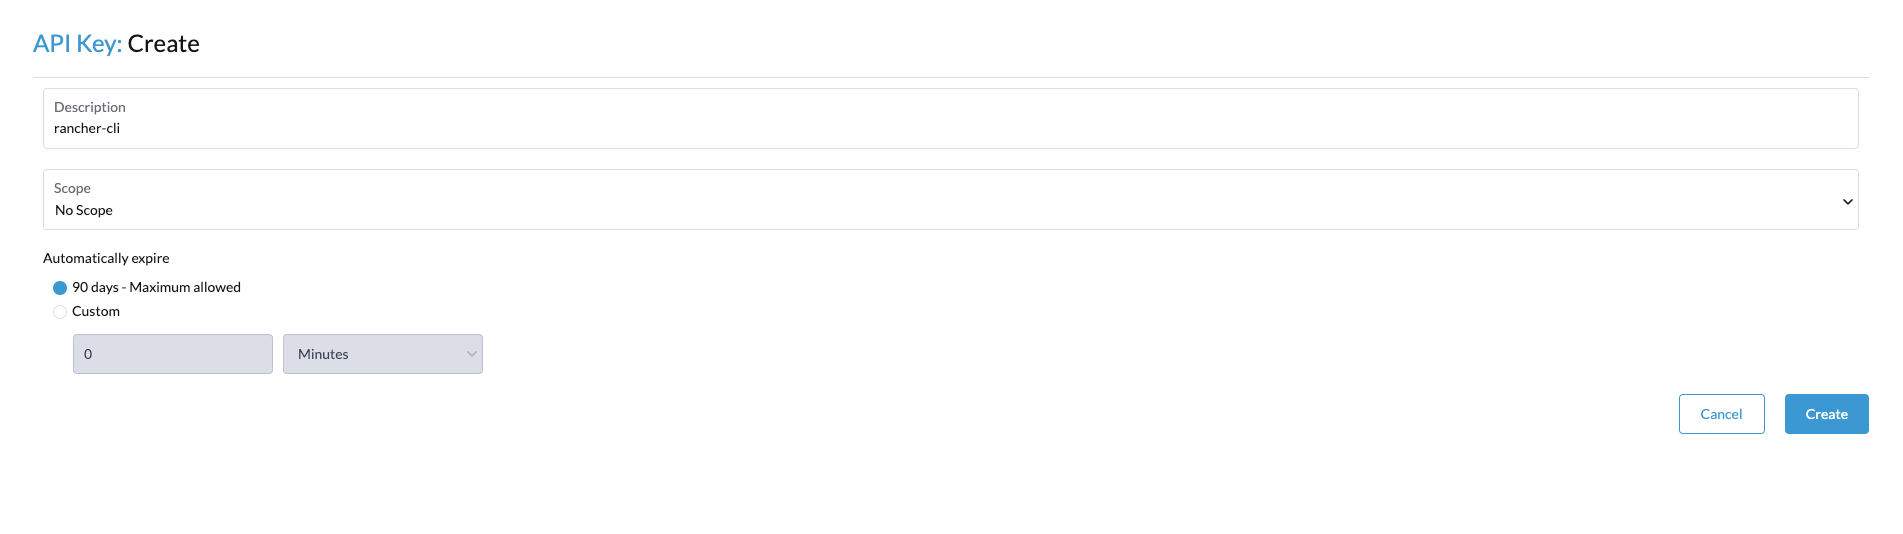
Give your API key a description and click Create.
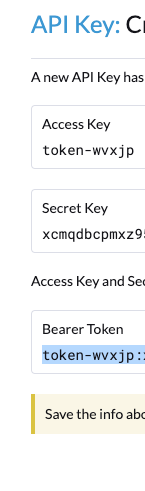
On the next page, you'll get different tokens for later use to authenticate with the Rancher CLI.
In the Rancher GUI, click the version number in the bottom-left corner. Then download the Rancher CLI for your operating system.
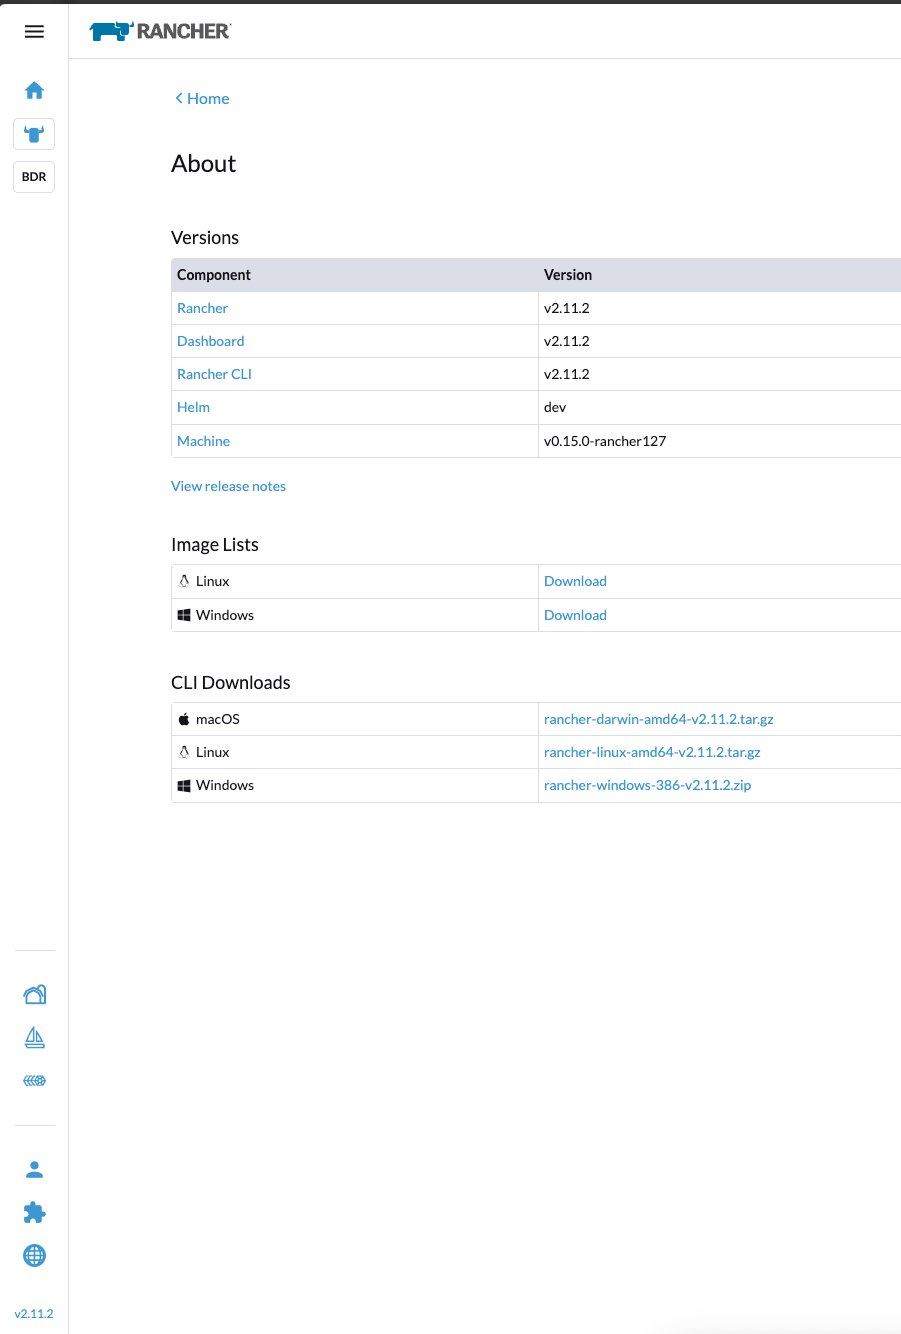
Once you have installed the Rancher CLI for your operatingsystem, you can authenticate against the Rancher API using the Rancher CLI with the following command:
rancher login --token <THE TOKEN> https://gdm-demo.k8s.domain.comYou should now be greeted by a view similar to this:
NUMBER    CLUSTER NAME        PROJECT ID             PROJECT NAME   PROJECT DESCRIPTION
1         blog-demo-cluster   c-m-j4q8gcvv:p-48rtd   Default        Default project created for the cluster
2         blog-demo-cluster   c-m-j4q8gcvv:p-m6xp9   System         System project created for the cluster
3         local               local:p-9rxsw          System         System project created for the cluster
4         local               local:p-lstkb          Default        Default project created for the cluster
Choose your project. In my case, let's choose the cluster we created earlier in the blog post: 2.
You should now be able to run all your kubectl commands with "rancher" as a prefix. Let's try it out:
[root@rancher-demo ~]# rancher kubectl get nodes
NAME                                   STATUS   ROLES                              AGE   VERSION
blog-demo-cluster-master-bppkq-jblml   Ready    control-plane,etcd,master,worker   13m   v1.32.5+rke2r1
blog-demo-cluster-master-bppkq-jgbpd   Ready    control-plane,etcd,master,worker   16m   v1.32.5+rke2r1
blog-demo-cluster-master-bppkq-rqzmc   Ready    control-plane,etcd,master,worker   13m   v1.32.5+rke2r1
And there we have it, folks. You have deployed your first Rancher RKE2 downstream cluster on Nutanix using the Nutanix node driver.
Tune in for the next post in the series:
Post 3: Using Rancher Fleet to handle cluster configuration and deploying the Nutanix CSI driver