Devops Post 4: Deploying AWX and Ansible Forms with Fleet

So now that we have the CSI driver in place on our RKE2 cluster, we can go ahead and deploy some workloads on it. In our case, we use AWX to orchestrate all our Ansible playbooks and code.
What is AWX?
Ansible AWX is an open-source, web-based automation platform that provides a centralized interface for managing, orchestrating, and monitoring Ansible automation workflows. Developed and sponsored by Red Hat, AWX serves as the upstream project for the automation controller component in the Red Hat Ansible Automation Platform, formerly known as Ansible Tower.
What is Ansible Forms?
Ansible Forms is a lightweight Node.js web application designed to generate user-friendly and visually appealing forms for triggering Ansible playbooks or AWX/Tower templates. Users define these forms using one or more YAML files, making it easy to customize and organize automation workflows. The platform enables teams to create interactive interfaces for their automation tasks without needing to write complex code.
Now that we understand that, let's go ahead and deploy AWX and Ansible Forms as a frontend for AWX on our Rancher RKE2 cluster using Fleet.
Deploy Database for AWX
My choice here is to use CloudNative PostgreSQL (CNPG). To deploy that, create a new folder in your repository called cloudnative-pg. This will deploy the CNPG operator, which we will use to deploy the database for our AWX instance later on.
The Helm chart in Fleet looks like this:
defaultNamespace: cnpg-system
helm:
  releaseName: cloudnative-pg
  repo: https://cloudnative-pg.github.io/charts
  chart: cloudnative-pg
  version: 0.23.2
This deploys the operator in the cnpg-system namespace. Once that is deployed, we can go ahead and deploy the AWX database using the CNPG operator we deployed earlier.
fleet.yaml
---
defaultNamespace: awx
dependsOn:
  - name: blog-demo-cloudnative-pg
db.yaml
---
apiVersion: postgresql.cnpg.io/v1
kind: Cluster
metadata:
name: awx-postgres
namespace: awx
spec:
imageName: ghcr.io/cloudnative-pg/postgresql:16.8
instances: 2
bootstrap:
initdb:
database: awx
owner: awx
storage:
size: 50GiOnce that's deployed trough fleet we can verify that the databases have been created with the cloudnative-pg operator by running this command
rancher kubectl -n awx get pods
NAME             READY   STATUS    RESTARTS   AGE
awx-postgres-1   1/1     Running   0          3m12s
awx-postgres-2   1/1     Running   0          28s
Now that we have the database in place, lets go ahead and prepare to deploy the AWX operator that deploys AWX. First, we need to recreate a secret manually, as the CNPG operator creates one for the database, but the AWX operator requires the secret in a specific format and with specific keys. Run the following one-liner to do this:
rancher kubectl -n awx get secret awx-postgres-app -o json | jq '.data | {"apiVersion": "v1", "kind": "Secret", "metadata": {"name": "awx-postgres-secret", "namespace": "awx"}, "data": {"database": .dbname, "host": .host, "password": .password, "port": .port, "type": "dW5tYW5hZ2Vk", "username": .username}}' | rancher kubectl apply -f -This creates a new secret called awx-postgres-secret using the data from the awx-postgres-app secret created by the database.So now that we have created the database and the appropriate secrets we can go ahead and deploy the awx operator.
Deploy AWX-Operator
Create a new folder in the repository called awx-operator and, in its fleet.yaml, add the following:
fleet.yaml
---
defaultNamespace: awx
helm:
  takeOwnership: true
  releaseName: awx-operator
  repo: https://ansible-community.github.io/awx-operator-helm
  chart: awx-operator
  version: 3.1.0
  values:
    operator:
      image:
        tag: 3.1.0
Verify the operator is deployed:
[root@rancher-demo ~]# rancher kubectl -n awx get pods
NAME                                               READY   STATUS    RESTARTS   AGE
awx-operator-controller-manager-799967c78c-c5mmn   2/2     Running   0          58s
awx-postgres-1                                     1/1     Running   0          9m46s
awx-postgres-2                                     1/1     Running   0          7m2s
you should now see that we have an awx-operator-controller running.
Deploy AWX
Add a folder to the repository called awx and include the following files:
fleet.yaml
---
defaultNamespace: awx

dependsOn:
  - name: blog-demo-awx-db
awx.yaml
---
apiVersion: awx.ansible.com/v1beta1
kind: AWX
metadata:
name: awx
namespace: awx
spec:
postgres_configuration_secret: awx-postgres-secret
postgres_resource_requirements: nullConfirm with this command:
[root@rancher-demo ~]# rancher kubectl -n awx get awx
NAME   AGE
awx    2m10s
The AWX should now be deployed.
Deploy AWX Ingress
To connect to the AWX instance, add an ingress configuration. Create a folder called awx-ingress and include the following files:
fleet.yaml
---
defaultNamespace: awx
helm:
  resources:
  - awx-ingress.yaml
  takeOwnership: true
dependsOn:
  - name: blog-demo-awx
awx-ingress.yaml
---
apiVersion: networking.k8s.io/v1
kind: Ingress
metadata:
name: awx-ingress
namespace: awx
annotations:
nginx.ingress.kubernetes.io/ssl-redirect: "true"
nginx.ingress.kubernetes.io/backend-protocol: "HTTP"
spec:
ingressClassName: nginx
tls:
- hosts:
- awx-demo.domain.com
secretName: awx-tls-secret
rules:
- host: awx-demo.domain.com
http:
paths:
- path: /
pathType: Prefix
backend:
service:
name: awx-service
port:
number: 80
Verify by running this command:
rancher kubectl -n awx get ingress
NAME          CLASS   HOSTS                 ADDRESS                               PORTS     AGE
awx-ingress   nginx   awx-demo.domain.com   10.11.58.42,10.11.58.43,10.11.58.44   80, 443   11s
Now we have successfully deployed the AWX instance with CloudNative PostgreSQL on our Rancher downstream cluster. Next, we need to deploy an SSL certificate for the AWX ingress. Use the following one-liner:
rancher kubectl -n awx-int create secret tls awx-tls-secret --cert=awx-demo.domain.com.pem --key=awx-demo.domain.com.keyAdjust the command to match your certificate files. To retrieve the key for the first-time admin login, run the following command:
rancher kubectl -n awx get secret awx-admin-password -o jsonpath='{.data.password}' | base64 -dNow visit your application and log in with the admin user and the password shown from the above command.

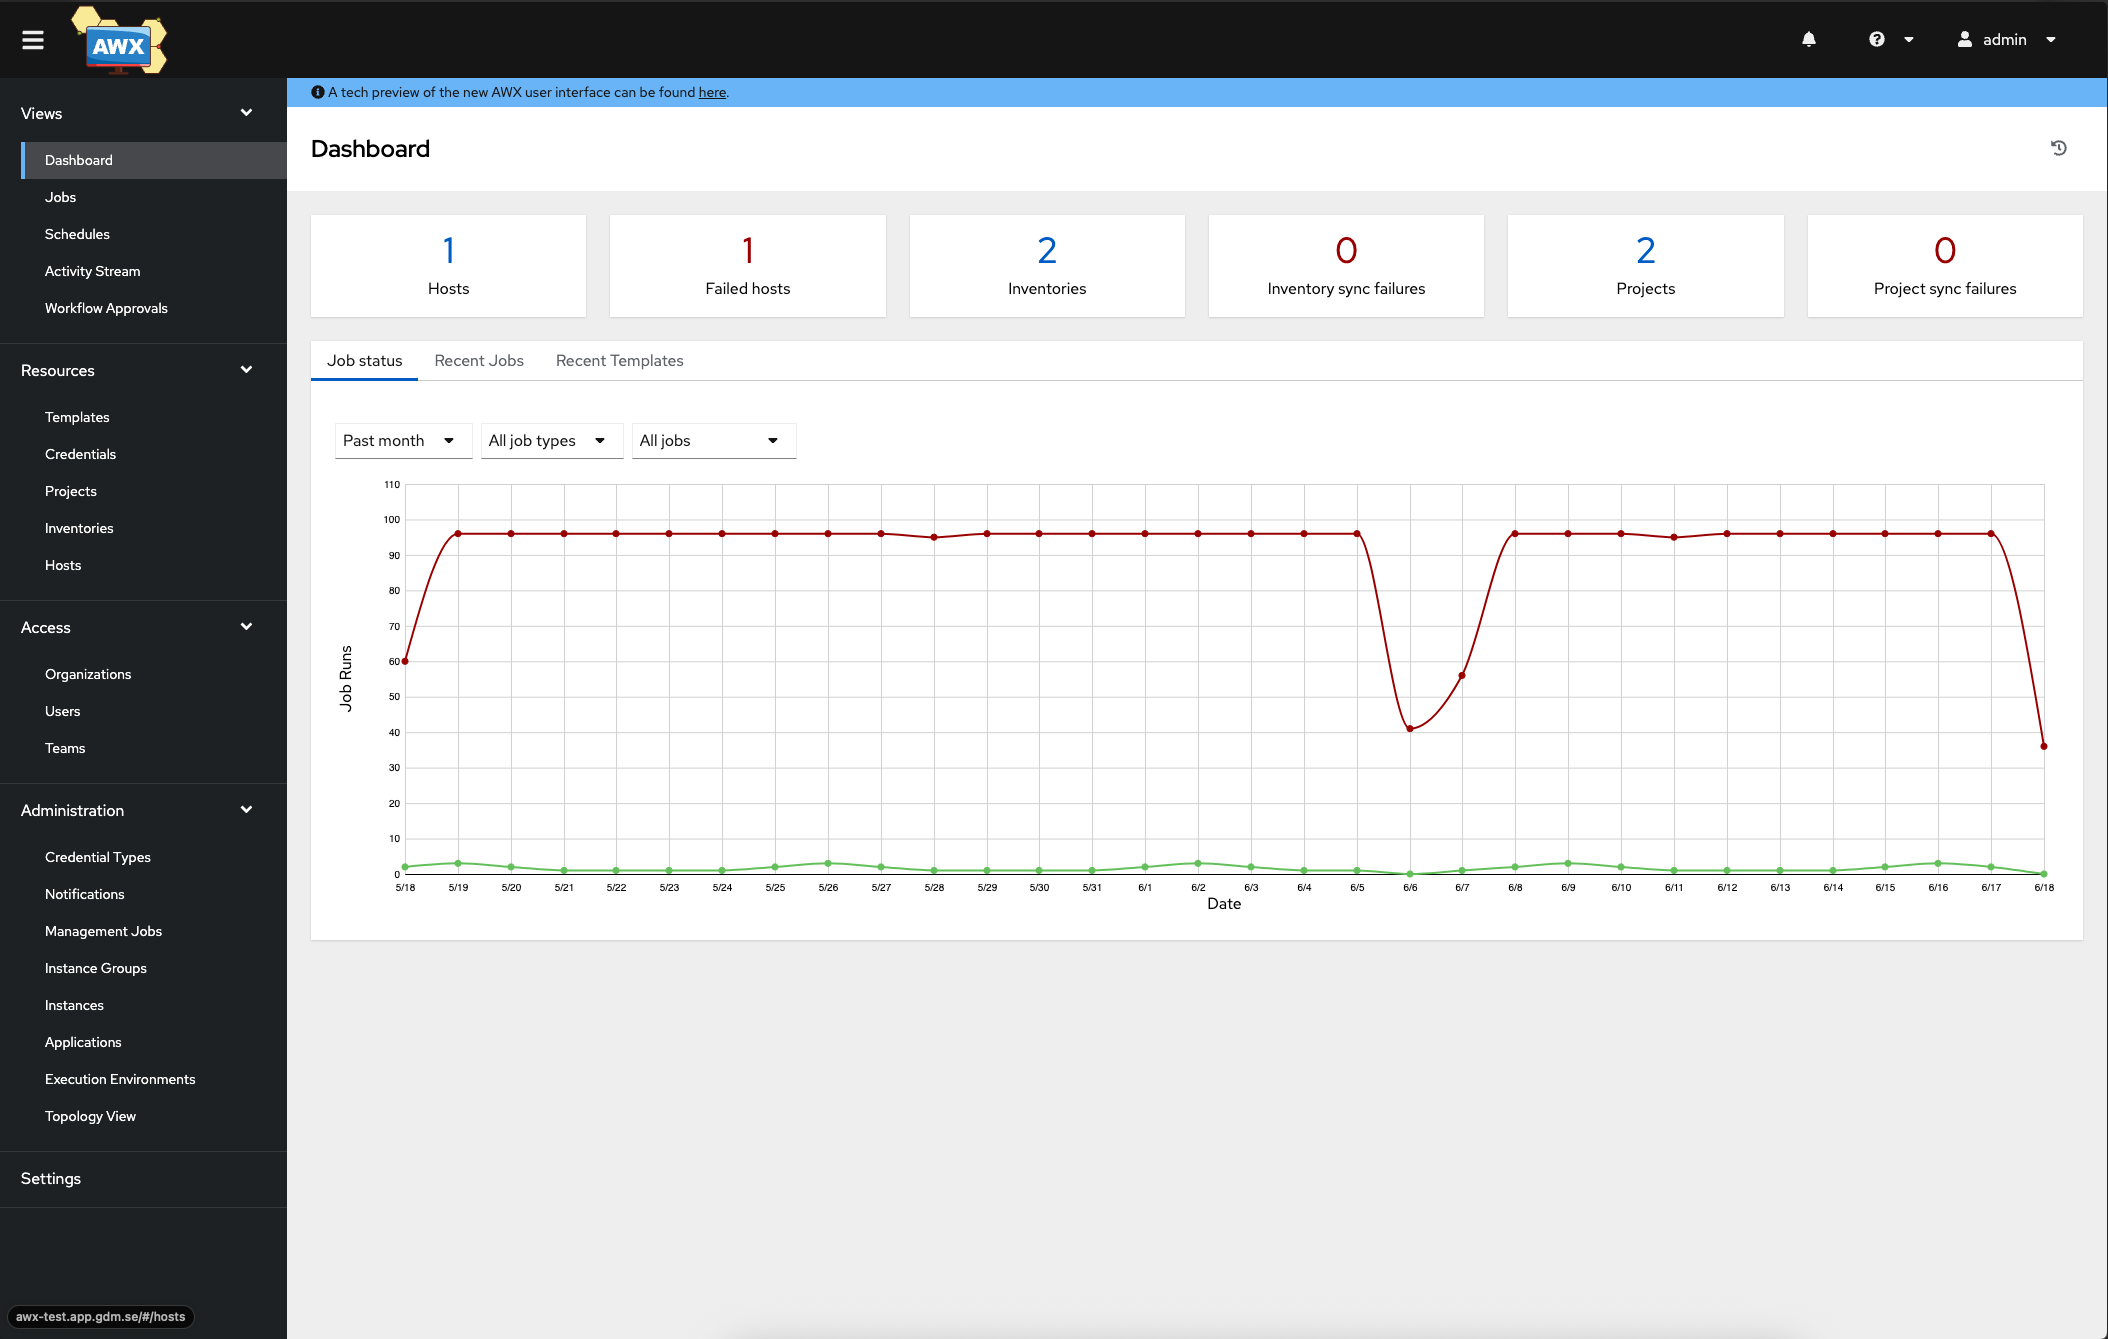
So that's it, now lets go ahead and deploy Ansible forms infront of AWX to use that to fire off templates with extra-vars from a user friendly interface.
Deploy Ansible Forms on RKE2 using fleet.
First, we need a database for Ansible Forms. Ansible Forms uses MySQL, but for simplicity, we will use MariaDB (a MySQL fork). Before we deploy the mariadb operator lets deploy the crds.
Create a new folder in the Git repository called mariadb-crds with the following file:
fleet.yaml
---
defaultNamespace: mariadb
helm:
  releaseName: mariadb-operator-crds
  repo: https://mariadb-operator.github.io/mariadb-operator
  chart: mariadb-operator-crds
  version: 0.38.1
This deploys the Custom Resource Definitions needed for MariaDB.
Create a folder named mariadb-operator and include the following file:
defaultNamespace: mariadb
helm:
  releaseName: mariadb-operator
  repo: https://mariadb-operator.github.io/mariadb-operator
  chart: mariadb-operator
  version: 0.38.1
  values:
    metrics:
      enabled: true
dependsOn:
  - name: blog-demo-mariadb-crds
Verify that the operator is deployed by running:
rancher kubectl -n mariadb get pods
NAME                                                READY   STATUS    RESTARTS   AGE
mariadb-operator-5d4cb9794b-qhbqd                   1/1     Running   0          22h
mariadb-operator-cert-controller-69f47bfd77-hklg4   1/1     Running   0          22h
mariadb-operator-webhook-65cb6b66f7-bfprv           1/1     Running   0          23h
Deploy the MariaDB database for Forms
Create a new folder in the repository called ansible-forms-db containing the following files:
fleet.yaml
---
helm:
  takeOwnership: true
ansible-forms-db.yaml
---
apiVersion: v1
kind: Namespace
metadata:
name: forms
---
apiVersion: k8s.mariadb.com/v1alpha1
kind: MariaDB
metadata:
name: forms-mariadb
namespace: forms
spec:
replicas: 1
image: docker-registry1.mariadb.com/library/mariadb:11.4.5
imagePullPolicy: IfNotPresent
port: 3306
storage:
size: 50Gi
storageClassName: default-nutanix-storageclass
myCnf: |
[mariadb]
bind-address=0.0.0.0
resources:
requests:
cpu: 100m
memory: 128Mi
limits:
cpu: 300m
memory: 512MiVerify deployment by running:
rancher kubectl -n forms get pods
NAME                     READY   STATUS    RESTARTS   AGE
forms-mariadb-0          1/1     Running   0          23h
Now that we have the MariaDB-instance created lets go ahead and create the AnsibleForms application. Add a folder to the repository with the name ansible-forms containing the following files:
fleet.yaml
---
helm:
  takeOwnership: true
dependsOn:
  - name: blog-demo-ansible-forms-db
ansible-forms.yaml
---
apiVersion: apps/v1
kind: Deployment
metadata:
name: forms
namespace: forms
spec:
replicas: 1
strategy:
type: Recreate
selector:
matchLabels:
app: forms
template:
metadata:
labels:
app: forms
spec:
containers:
- name: forms
image: ansibleguy/ansibleforms:latest
imagePullPolicy: "IfNotPresent"
env:
- name: DB_HOST
value: forms-mariadb.forms
- name: DB_PORT
value: "3306"
- name: DB_USER
value: root
- name: DB_PASSWORD
valueFrom:
secretKeyRef:
name: forms-mariadb-root
key: password
- name: BASE_URL
value: "/"
ports:
- containerPort: 8000
name: forms
protocol: TCP
volumeMounts:
- mountPath: /app/dist/persistent
name: formsdata
volumes:
- name: formsdata
persistentVolumeClaim:
claimName: formsdata-pvc
---
apiVersion: v1
kind: Service
metadata:
name: forms
namespace: forms
spec:
ports:
- port: 8000
protocol: TCP
targetPort: forms
selector:
app: forms
sessionAffinity: None
type: ClusterIP
---
apiVersion: v1
kind: PersistentVolumeClaim
metadata:
namespace: forms
name: formsdata-pvc
spec:
accessModes:
- ReadWriteOnce
resources:
requests:
storage: 10G
---
apiVersion: networking.k8s.io/v1
kind: Ingress
metadata:
name: ansibleforms-ingress
namespace: forms
spec:
ingressClassName: nginx
tls:
- hosts:
- forms-demo.domain.com
secretName: forms-tls
rules:
- host: forms-demo.domain.com
http:
paths:
- path: /
pathType: Prefix
backend:
service:
name: forms
port:
number: 8000Verify that the application is deployed by running the following command:
rancher kubectl -n forms get pods
NAME                     READY   STATUS    RESTARTS   AGE
forms-6b85cfd4bb-4tggh   1/1     Running   0          23h
forms-mariadb-0          1/1     Running   0          23h
Now we need to create the ingress secret forms-tls , we do that with this oneliner.
rancher kubectl -n forms create secret tls forms-tls --cert=forms-demo.domain.com.pem --key=forms-demo.domain.com.keyVisit the Forms instance at https://forms-demo.domain.com. You will see a message that the database schema is not created. Click "Create Schema."
Use the Rancher CLI to restart the deployment:
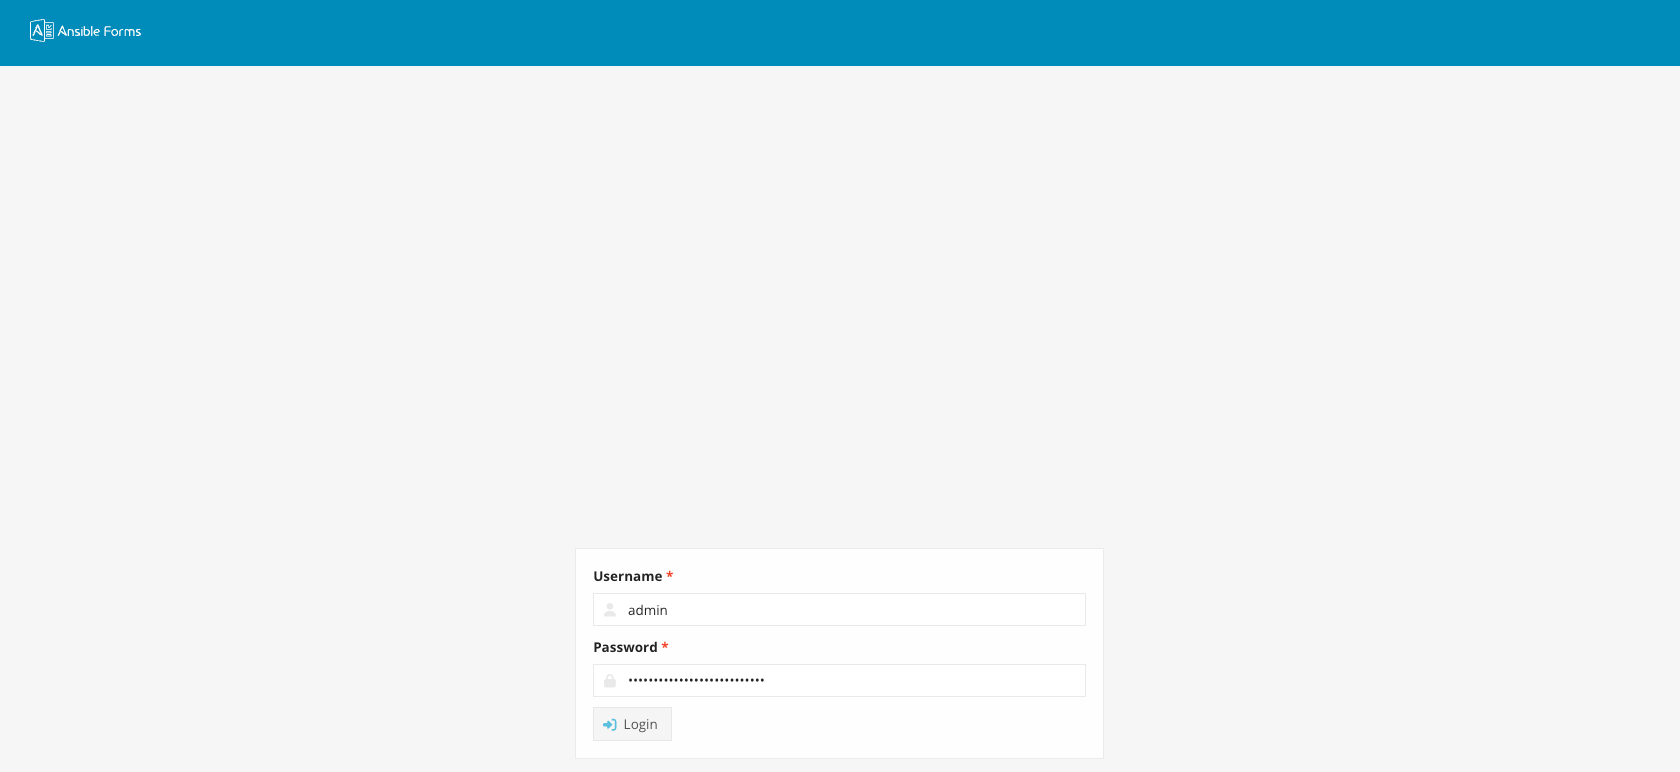
rancher kubectl -n forms rollout restart deployment formsRevisit the application at https://forms-demo.domain.com. Log in using the default credentials:
- Username: admin
- Password: AnsibleForms!123
Once logged in, connect your Forms instance to your AWX instance by navigating to Settings -> AWX. Enter the credentials for the AWX instance.
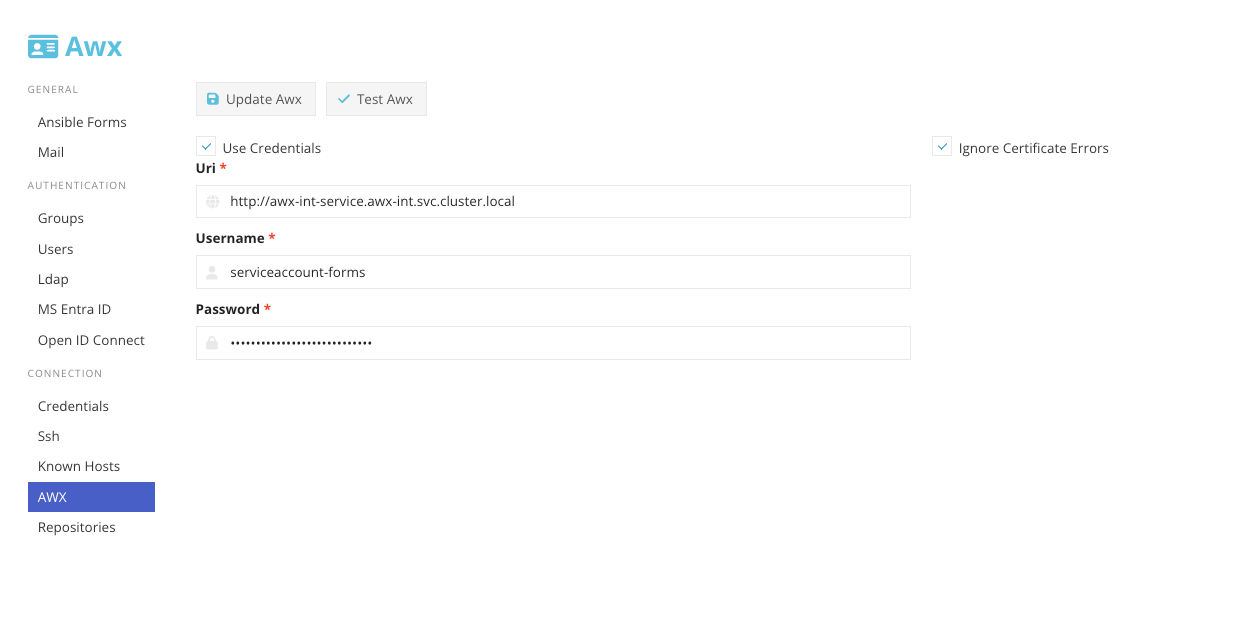
The DNS value for AWX is the cluster's internal Kubernetes DNS, such as:
http://awx-service.awx.svc.cluster.local
Where awx-service is the servicename, and awx is the namespace and the svc is the suffix for services, and cluster.local is the default kubernetes internal searchdomain.
Click "Test AWX" to confirm the connection.
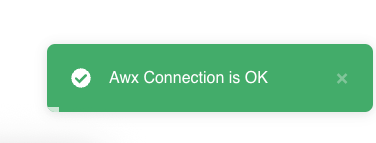
Now you can start deploying custom playbooks in AWX with your custom made forms from Ansible forms :D
Additional resources
For more documentation on AWX visit this page:

For more documentation on Ansible Forms visit this page:
Also checkout my git repo for all the different example configurations mentioned in this post:
Hope this is to some help for someone.
stay tuned for the next post in this series:
DevOps Post5: Summary and inspiration