NKP Post 5: Provisioning your first Kubernetes cluster in NKP

Let's go ahead and deploy our first cluster for developed workloads.
Adding a New Cluster
Log into your portal/dashboard and go to the menu. Click "Clusters," and then in the top right corner, you'll find the "+ Add Cluster" button.

In the "Add Cluster" GUI, you'll find different options. We're going to create a new cluster. For the sake of this lab, we'll create the cluster in the Default Workspace and call it "joho-nkp-workload."

I'll add my public key from my bastion host that we created in part one.
Control Plane pool
In the Control Plane section, I'll enter the Prism Central project where I want the VMs that NKP creates to reside. I select my AOS cluster and my OS image that we created in part one of the series. I configure my Control Plane Endpoint IP and Control Plane Node count.

Worker Node pool
For the worker node pool, I configure the same options and VLANs as the control plane node pool. I also choose to enable the "worker node autoscaling" option.

Storage configuration
In the Storage section, I select my Storage Container that I want my Kubernetes cluster to use for storage.

Networking
For networking, in this lab, I leave the Pod and Service network to the default suggested settings in the guide. I also add an IP for my load balancers' IP range.

Registry settings
In the "Image Registry" settings, I added my https://joho-registry.domain.local/dockerhub endpoint along with the username and password. Then I uploaded the CA certificate file.

I also checked the box for Advanced Settings and added my library settings.

Deploying the Cluster
Once all those settings are filled in, we can start the deployment of the cluster. Click the "Create" button in the top right corner to begin the deployment.
You will see that the deployment has started.

If we head into Prism Central, we can see that NKP is starting to create VMs.

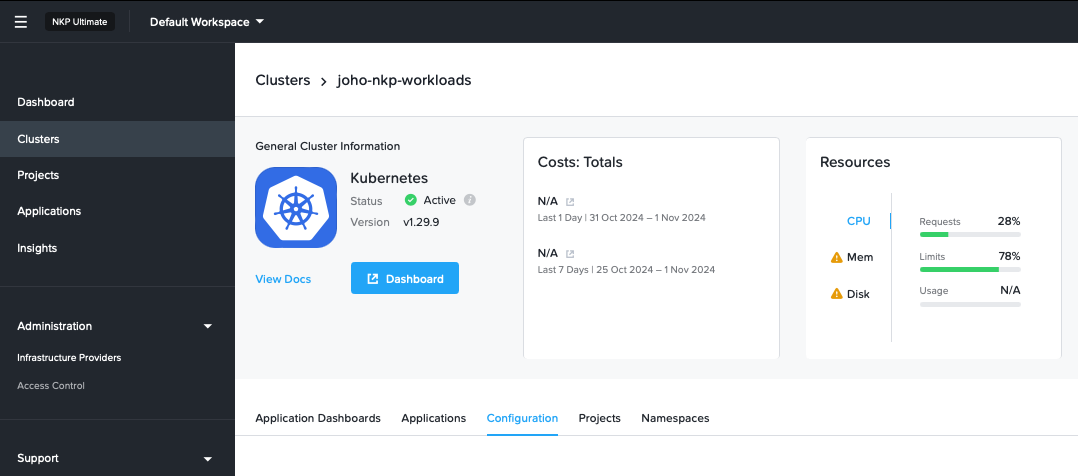
Now we just have to wait for the deployment to finish. After a while, we can see that the cluster is active.

Accessing the Cluster
In the top right corner, there is an "Actions" menu. Click it and then select "Download kubeconfig." Transfer that kubeconfig to your bastion host.
Now you can start managing your cluster through kubectl:
kubectl get pods -A --kubeconfig="/home/administrator/joho-nkp-workloads-kubeconfig.yaml"
Or through K9s:
K9s --kubeconfig="/home/administrator/joho-nkp-workloads-kubeconfig.yaml"
Conclusion
This concludes my series on how to deploy Nutanix NKP on your infrastructure. Thank you so much for reading my series on this topic, and I hope to see you again soon!
Best regards, Jonas