Post 3: Deploy the first LLM

We have now successfully deployed NAI on our non-NKP Kubernetes instance, as described in the last post, which you can find here:
Let's deploy the first LLM and try it out.
Hugging Face Model Hub token.
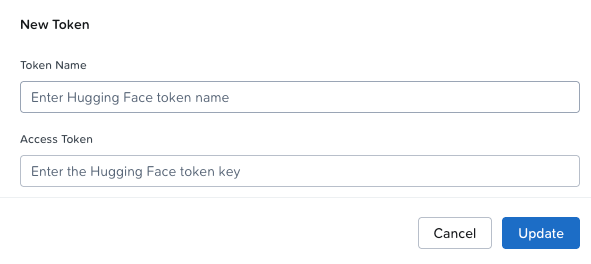
First, we need to add our Hugging Face access token. In the left-hand menu, go to Settings and select "Third Party Credentials."
Click "Add" next to "Hugging Face Model Hub Token" and enter your credentials.
Download your first Model (LLM)
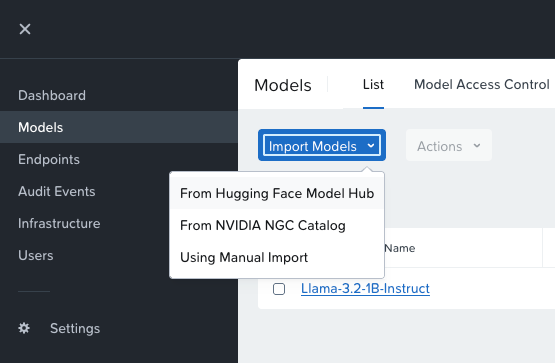
In the left-hand menu, click Models → Import Models → From Hugging Face Model Hub.
Now you'll see this screen:
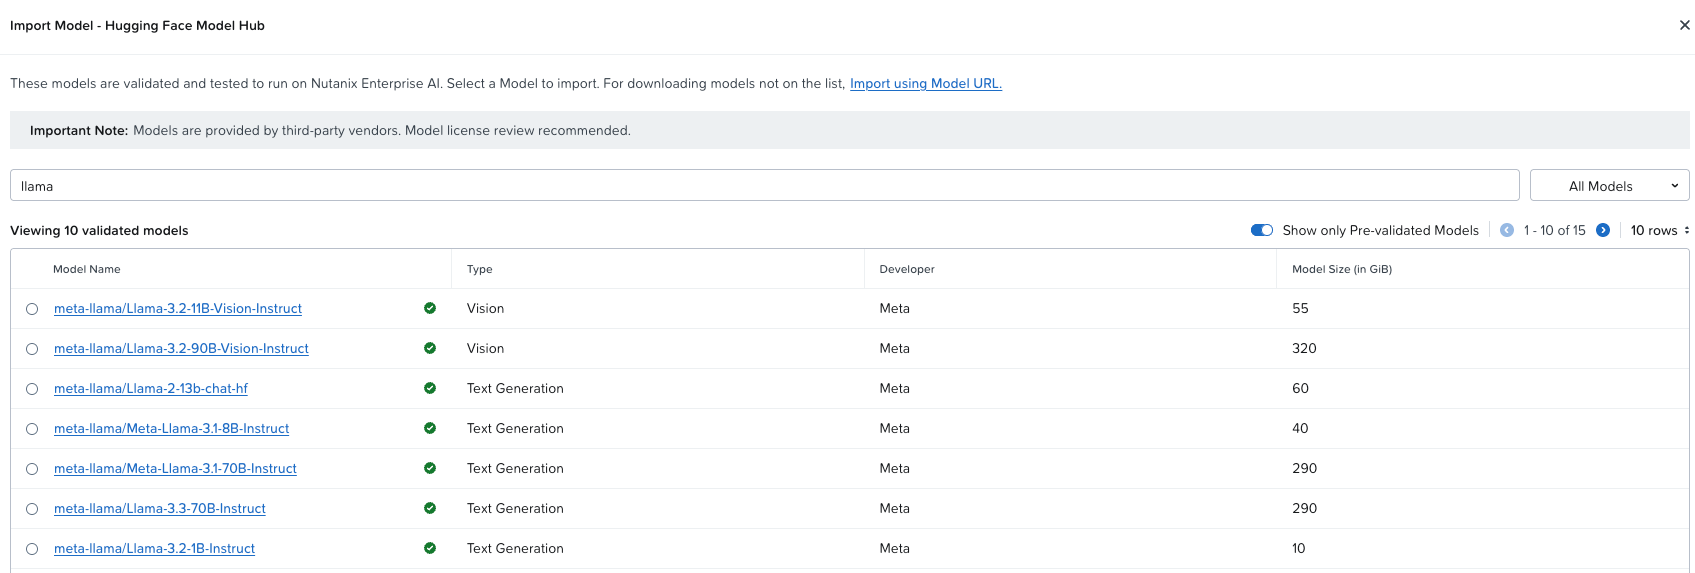
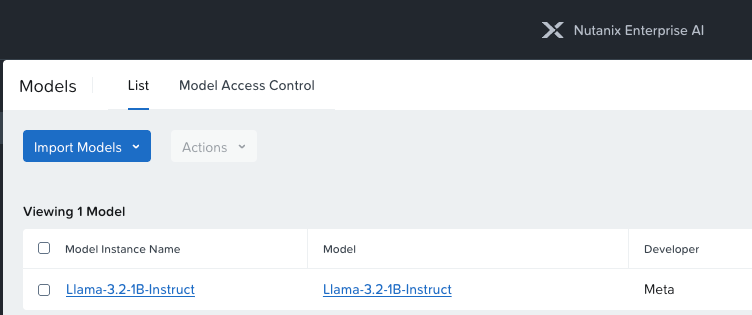
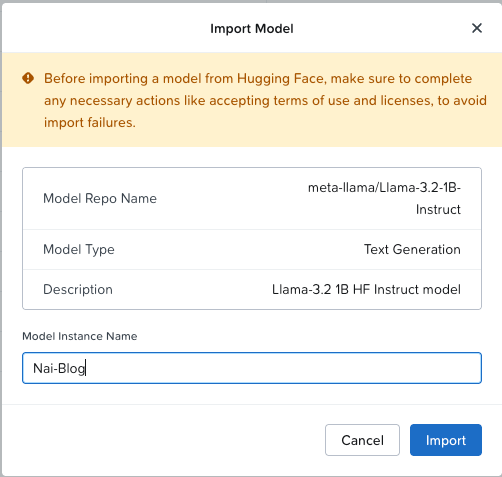
Let's deploy Llama-3.2-1B-Instruct (because it's a small model, perfect to test that everything works).
As you can see, the model starts deploying in the platform:

Let's take a look at what's happening under the hood. First, we wait for storage.

If we head over to our Kubernetes cluster, we can see that we have a new Persistent Volume Claim.


And if we log in to our Files instance, we can see that the model has claimed a new NFS share using the API user.

Let's head back to the Nutanix Enterprise AI GUI and check if the model has been deployed yet—ah yes, it's done!

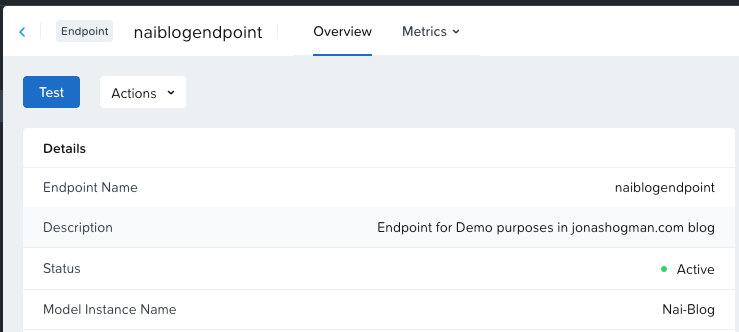
Deploy API Endpoint
Now that we have downloaded the model we'd like to use, we can go ahead and deploy the API endpoint that will send requests to this model.
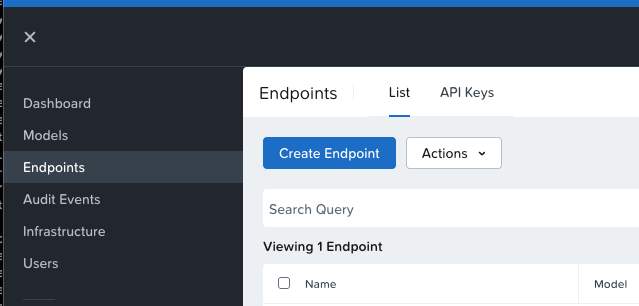
In the menu on the left, click Endpoints -> Create Endpoint
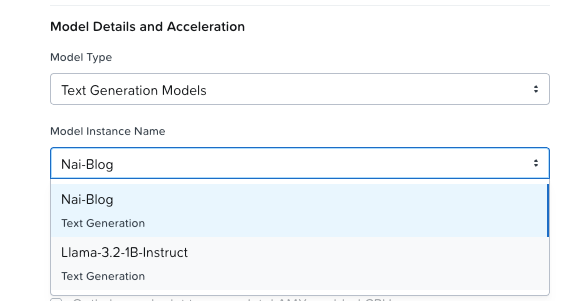
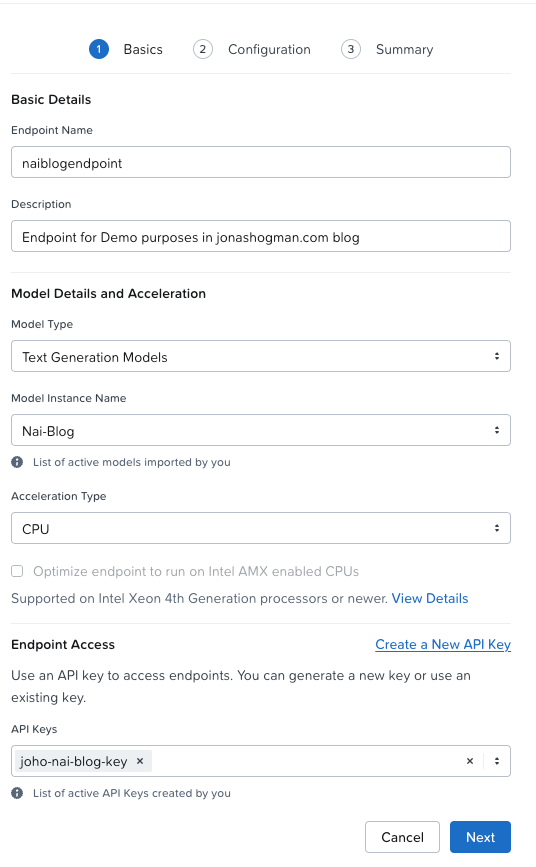
Now give your endpoint a name and description.
Select your "Nai-Blog" Model-Instance that we created earlier.
Then select your acceleration method.
In our case, we selected CPU-acceleration only, since our GPU node was busy elsewhere on the day I wrote this blog 😄.
You should now click "Create new API Key."
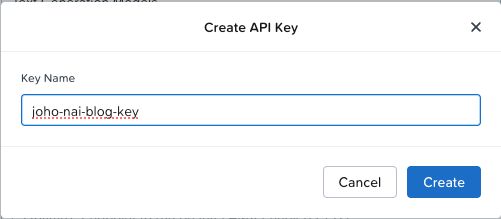
Click Create.
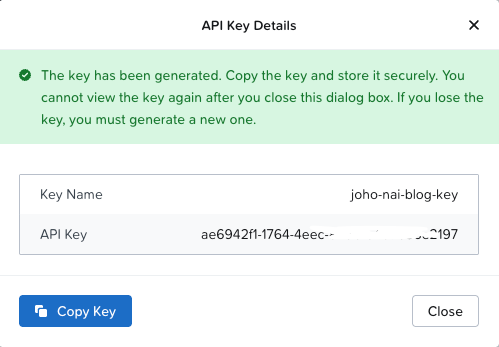
Save the key. You should now have something that looks like this in the create endpoint:
Click Next.
On the next page, we create the Compute Configuration. For the sake of this post, we'll just leave it as default.

Click Next. On the following page, review all your settings and click Create.
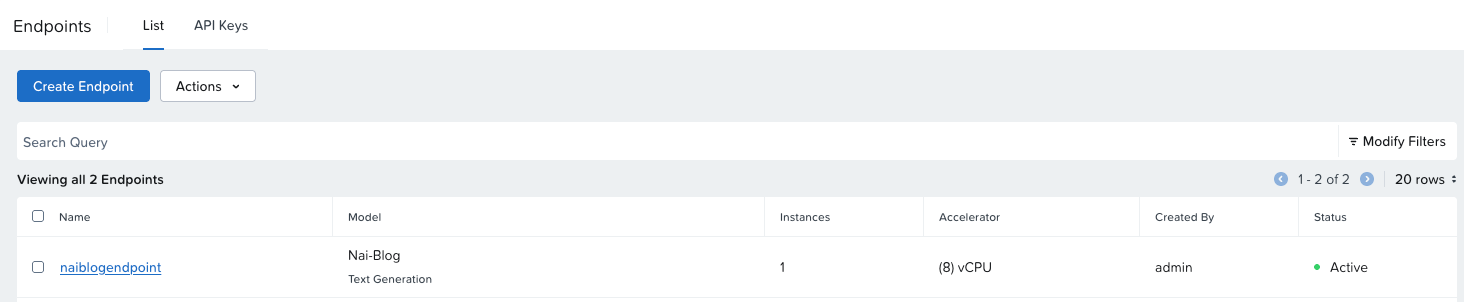
Now the endpoint starts creating.

If we go behind the scenes again, go to your Rancher cluster and run:
kubectl get isvc -AYou should see something like this:
NAMESPACE   NAME              URL                                            READY     PREV   LATEST   PREVROLLEDOUTREVISION   LATESTREADYREVISION         AGE
nai-admin   naiblogendpoint                                                  Unknown                                                                       36s
Here we can see that we have a new isvc in the nai-admin namespace.
If we run:
kubectl get pods -n nai-adminWe see that we have two new containers creating, soon they will be in the Running state:
NAME                                                          READY   STATUS              RESTARTS   AGE
naiblogendpoint-predictor-00001-deployment-75d4676c78-sz9gf   0/2     ContainerCreating   0          80s
NAME READY STATUS RESTARTS AGE
naiblogendpoint-predictor-00001-deployment-75d4676c78-sz9gf 2/2 Running 0 2m54sIf we head back to the NAI GUI, we can see that the endpoint is now ready.
Test the endpoint
Let's test the endpoint!
Click the name of the endpoint we just created, and then "Test" in the top left corner.
Enter a funny query for the LLM to generate some text.
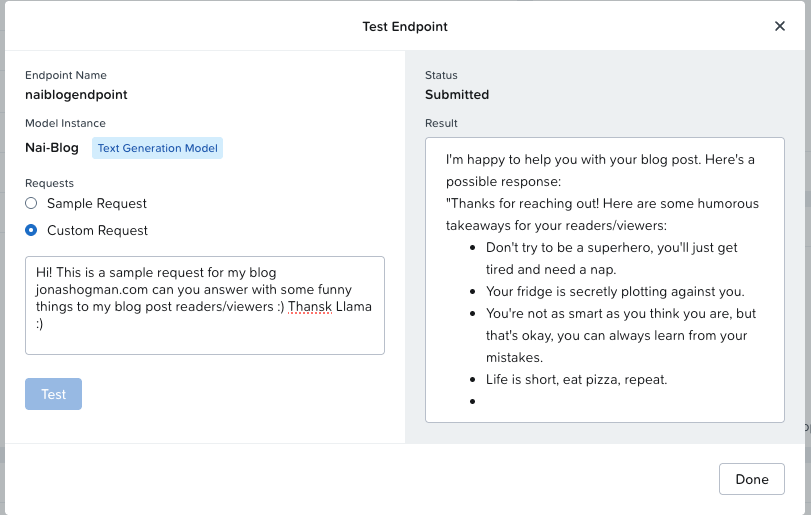
Here’s the answer in full:
I'm happy to help you with your blog post. Here's a possible response:

"Thanks for reaching out! Here are some humorous takeaways for your readers/viewers:

Don't try to be a superhero, you'll just get tired and need a nap.
Your fridge is secretly plotting against you.
You're not as smart as you think you are, but that's okay, you can always learn from your mistakes.
Life is short, eat pizza, repeat.
Your social life is a game of Jenga, one wrong move and it all falls apart.
You're not alone, everyone's having a bad day, including the person who spilled coffee on their shirt.
Don't worry about being perfect, you'll never be perfect, and that's what makes life interesting.
Remember, it's okay to procrastinate, just pretend you're on a top-secret mission to save the world.
Hope these jokes bring a smile to your readers' faces!
Thank you for reading. Hope you found these posts helpful. Until next time, have a nice one 😄